3rd Joint-US-GE-Cache „Fire and Water“ (Germany: GC68TRC)
unfortunately some wood grip behind the plexi glass
meanwhile I made the plexi new and now it’s fine…

now the display is perfect, or?
19.12.2015 - Starting
While you’re suffering with your kidney stones, I started with this cache. I decided to make it much simpler and renamed it also.
The main game will only have two steps:
1. You have to light a flame, which will be discovered by a flame sensor
2. You have to fill water into a pipe.
If step two is done, the cache container will be released by a stepper motor from inside the housing through its bottom to outside. This is why you’ll see that motor already on the video.
20.12.2015 - Prototype finished!
Some ideas on that cache:
- The housing of the cache will have a lot of holes, closed by windows.
- The windows are nothing more than round slices of wood turning round a nail on the top. So that’s very easy to built.
- Behind one of these holes there will be the flame sensor.
- The water pipe must be filled with water by the cacher. By measuring the resistance, it will be checked if water was filled or not.
- The cache container will be dropped from inside the housing. This is managed by a stepper motor releasing a thread from a coil.
- After signing the log, the cache container must go inside again. First I planned that the cacher has to press a button. But he should also release the water from the pipe. Than I had the idea to combine that. When releasing the water from the pipe, the cache container will go back into the housing (here’re only 2 turns are shown…)
I need to built a the pipe and a holder for it to take the video. The pipe is made from two petlings I cutted by 60°. So glueing them the angle is 120°. This means when the upper part is vertical, the lower one will have 30° from horizontal. Working with water means not all areas will stay dry. Even so, when back in the office and working on hardware and the sketch. So I earned some angry eyes from Tina, but at the end…
Have a look! (But not earlier than 1:30 pm your time today.)
It’s working fine. (As ever: By clicking the YouTube icon you can select 1080p as video resolution and watch in full screen…)
As ever: By clicking the YouTube button, you can watch it in 1080p…
30.12.2015 - Built my own shield!
Today I decided to try to built my own shield. So when everything will be wired to the shield and the shield will be attached to the Uno. The main risk is that you can’t correct anything, because all is soldered.

Left the Uno and right my shield
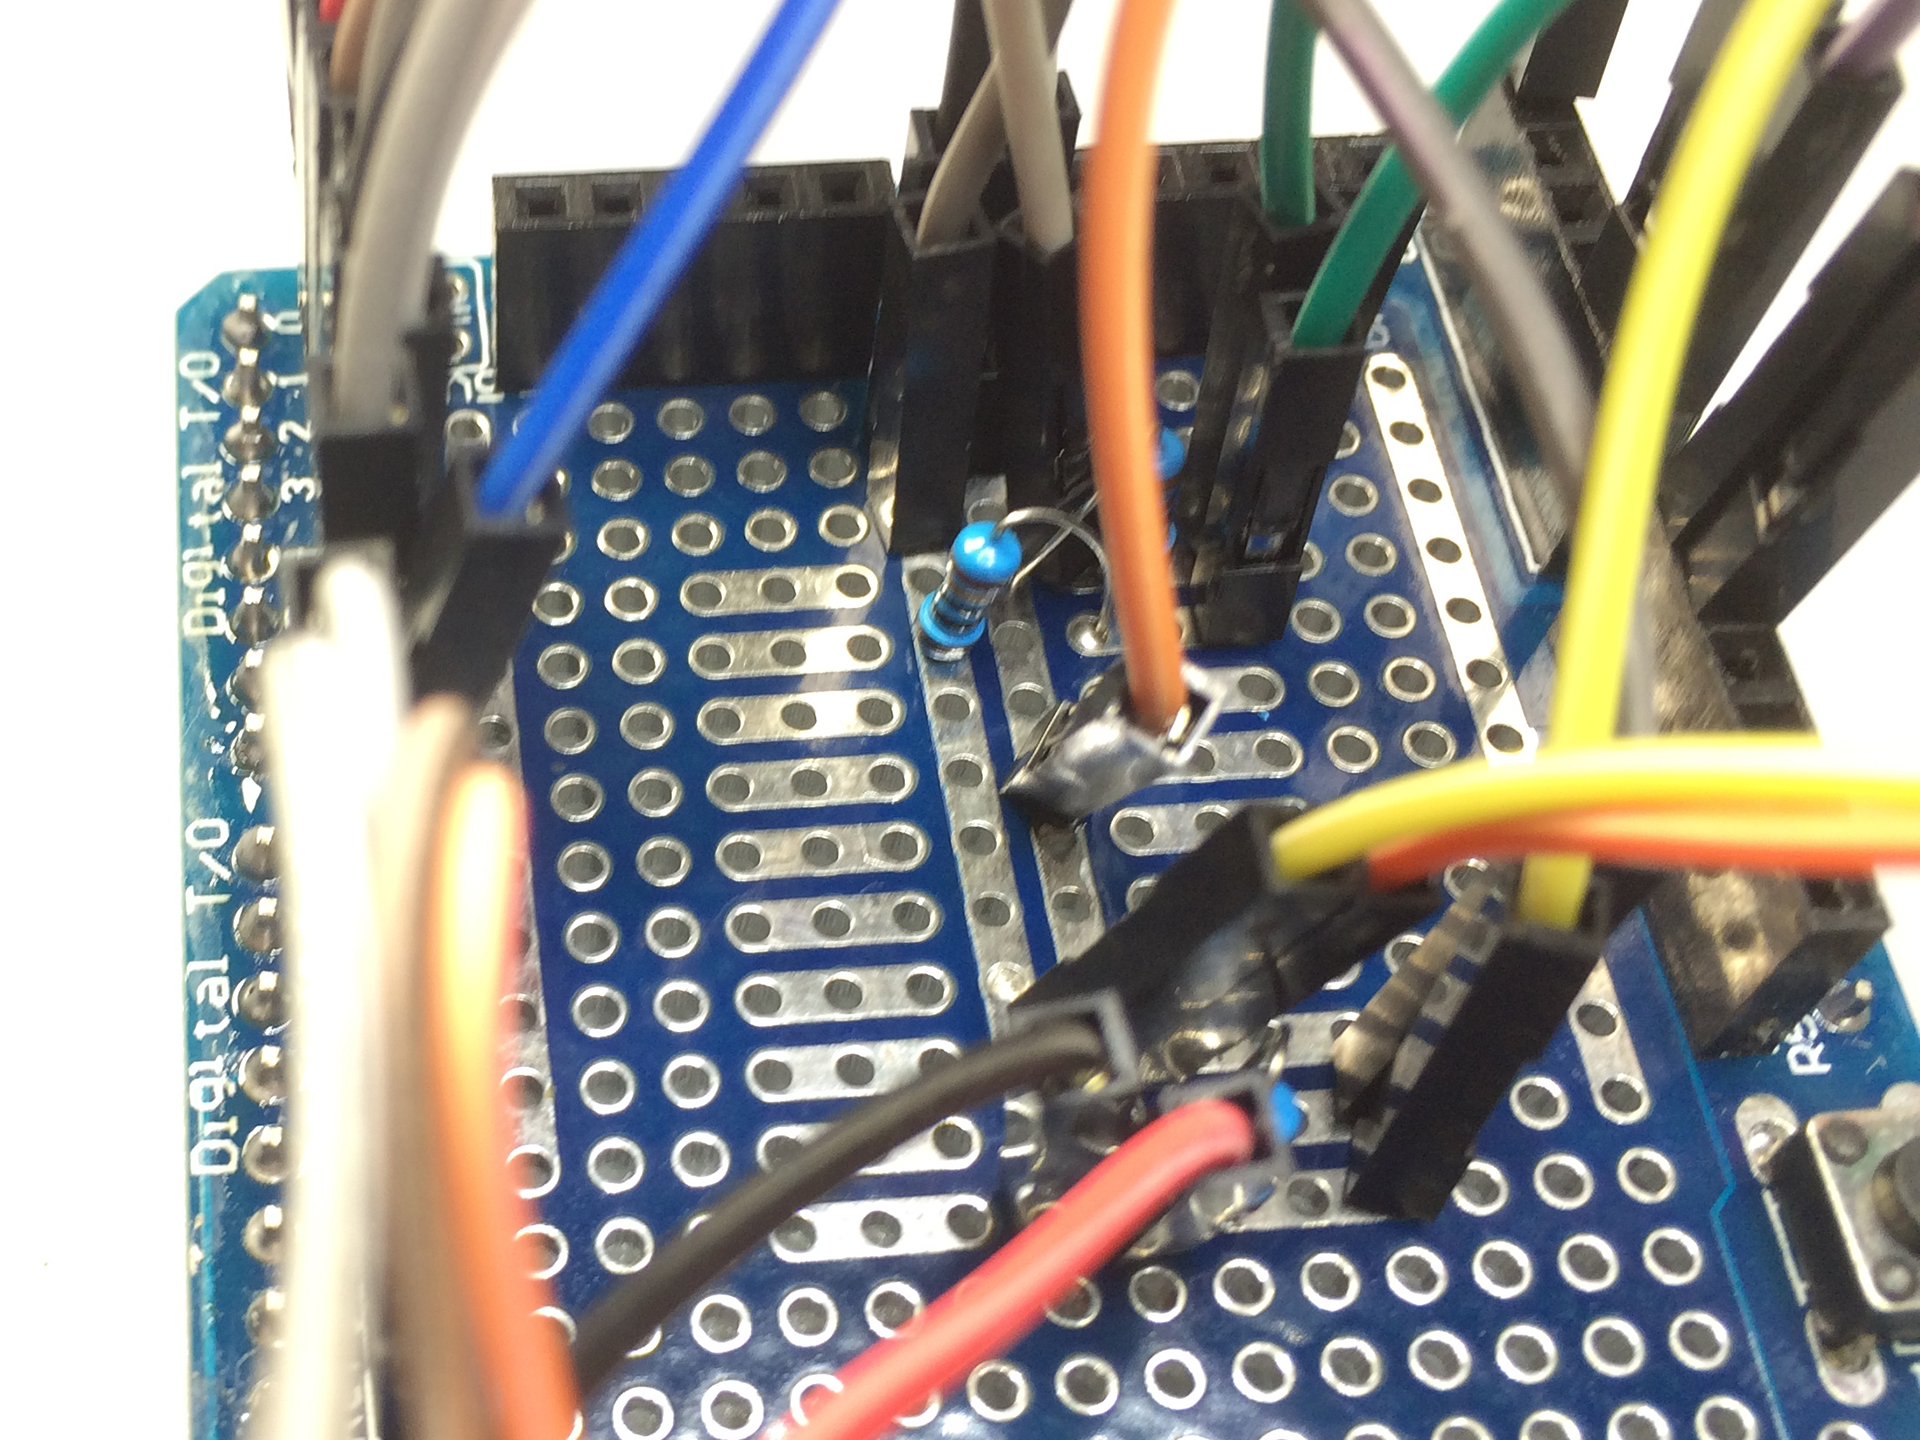
Close look onto the shield with the resistors soldered
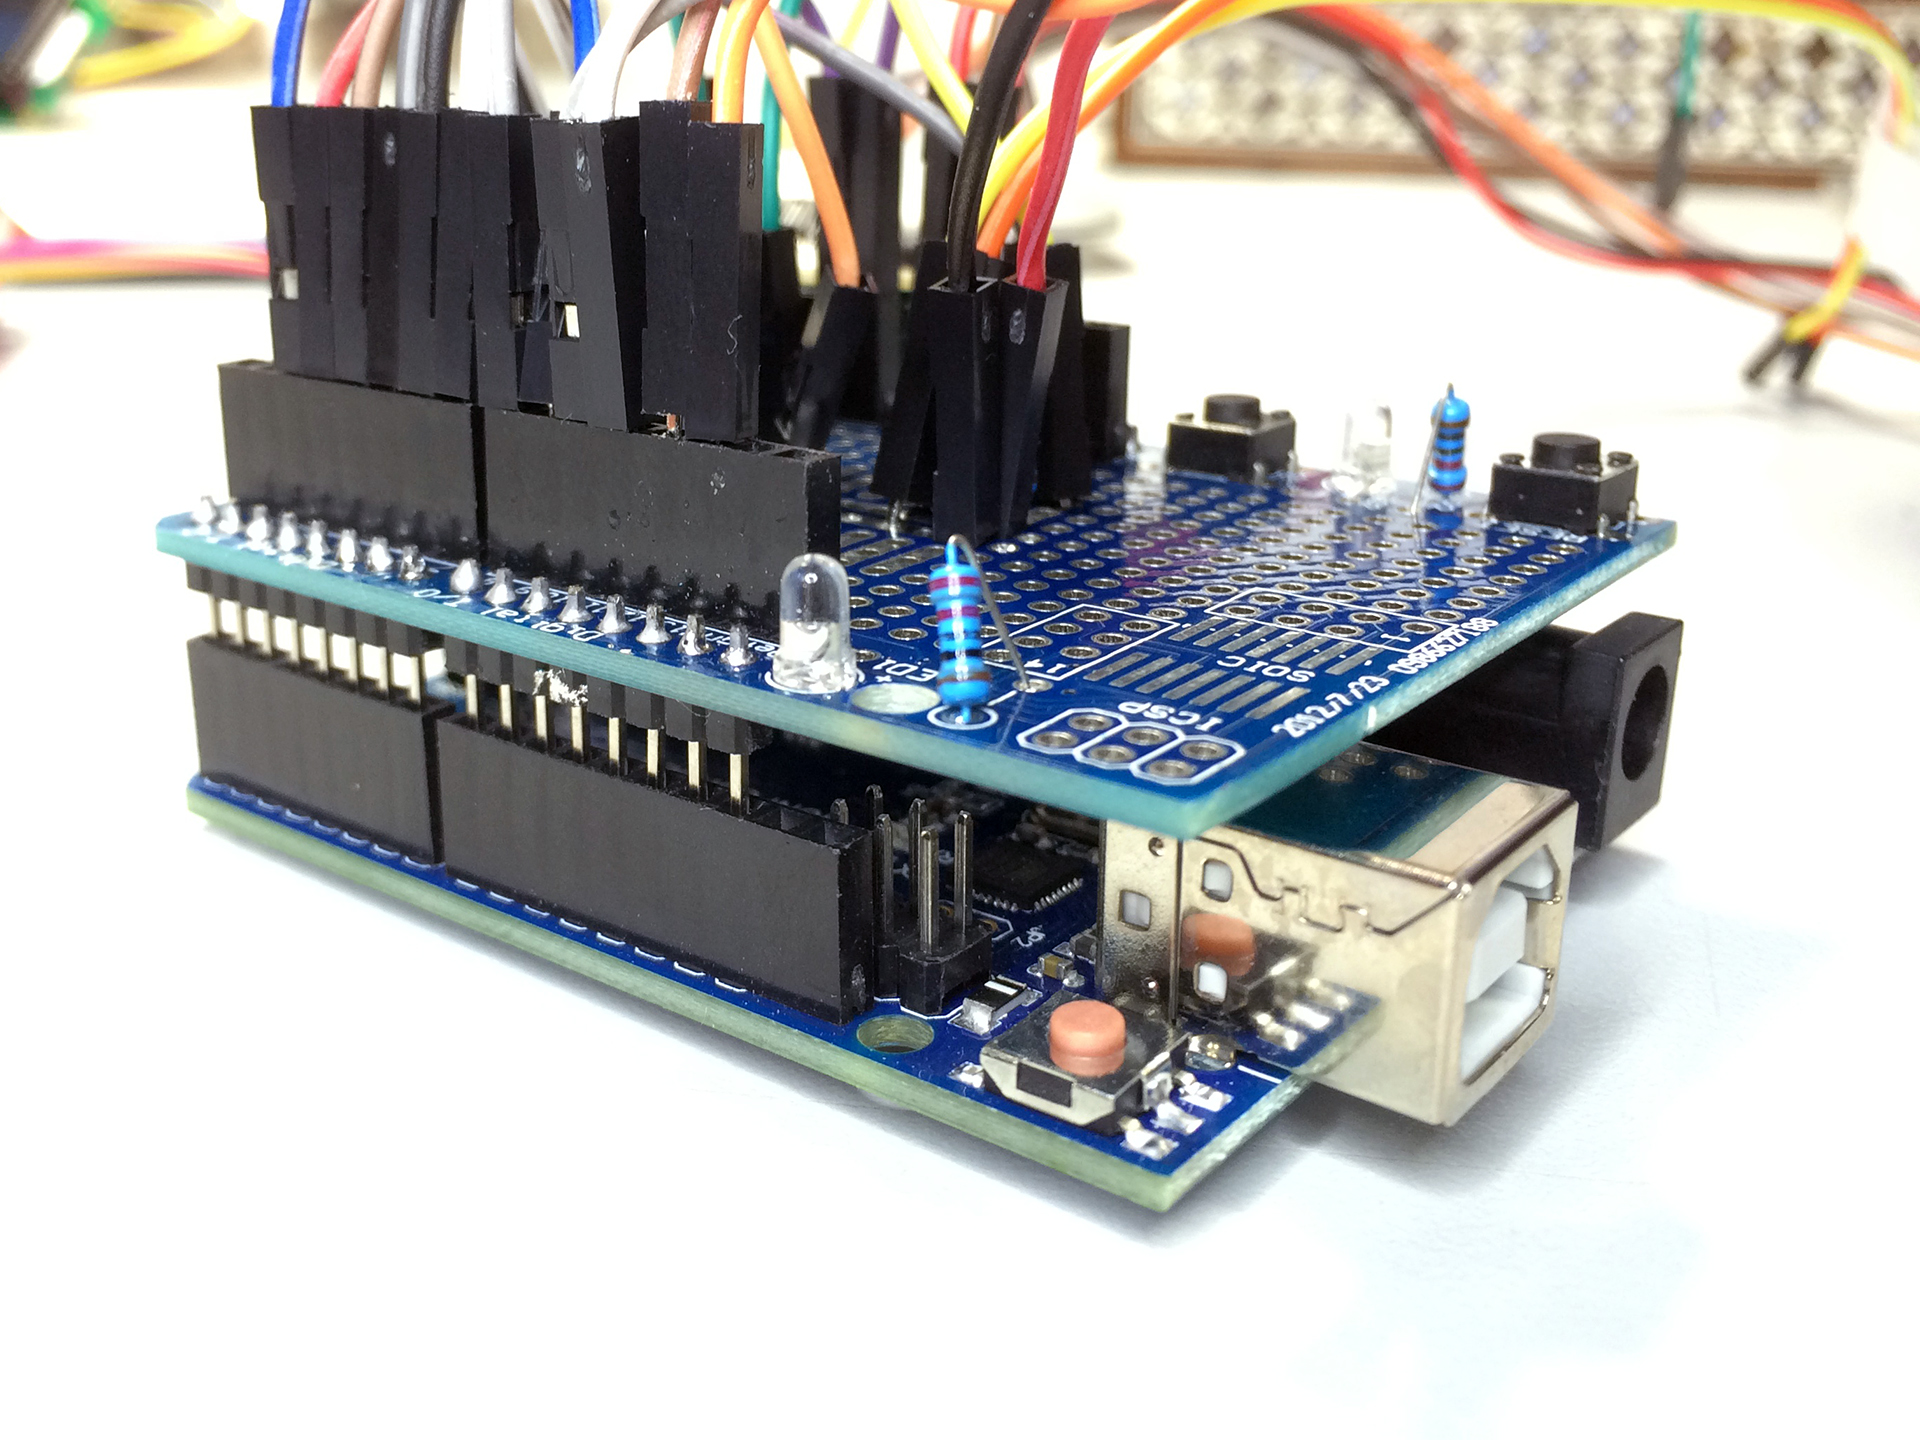
The shield on top of the Uno - for demonstration not completely fixed
31.12.2015 - Housing finished!
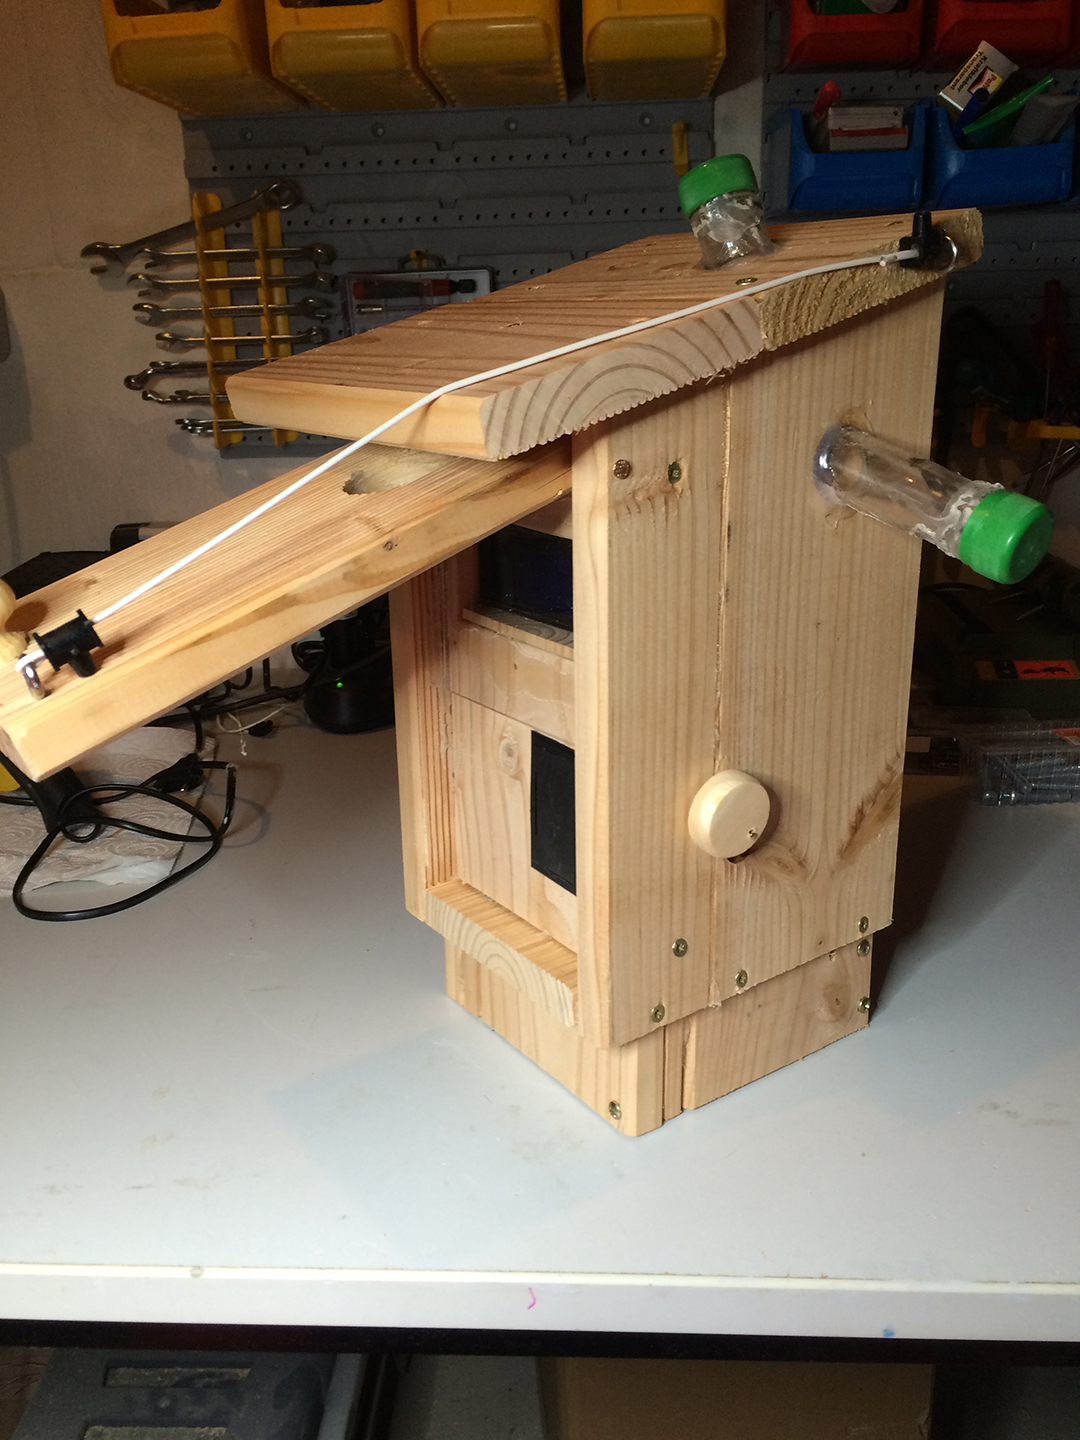
Yesterday and today I worked a lot on the housing of the „German version“ of the cache. Here’re some pictures of it:
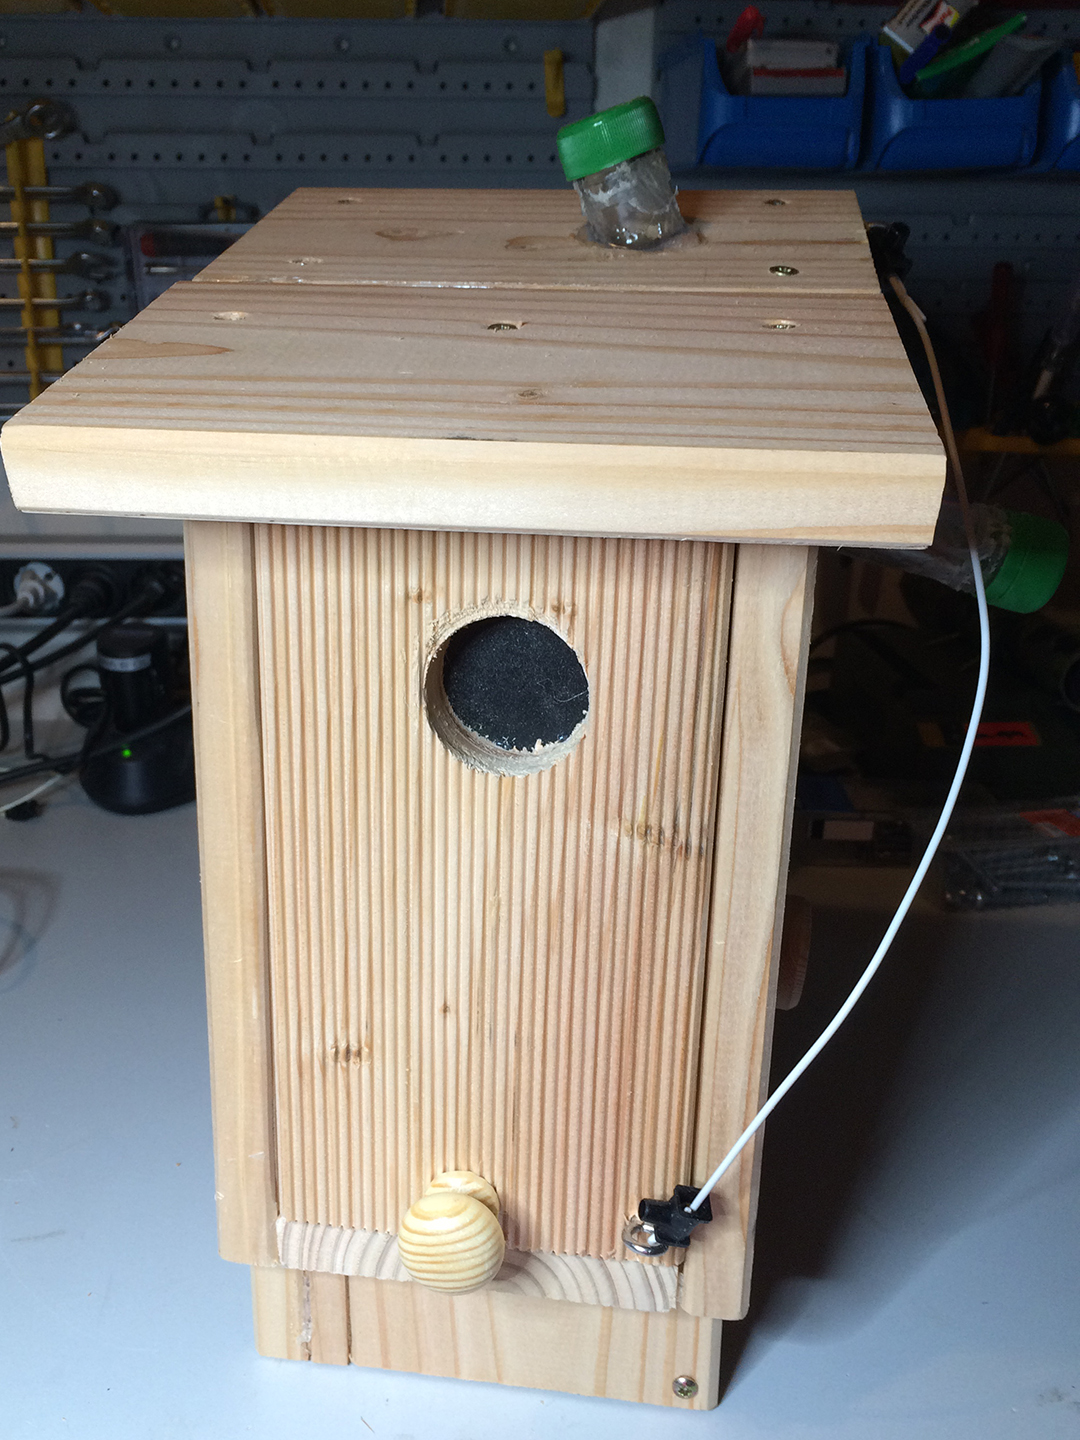
Front view with false front closed (old opening construction)
- looking a little bit like a bird house, or?
False front opened and fixed (old version)
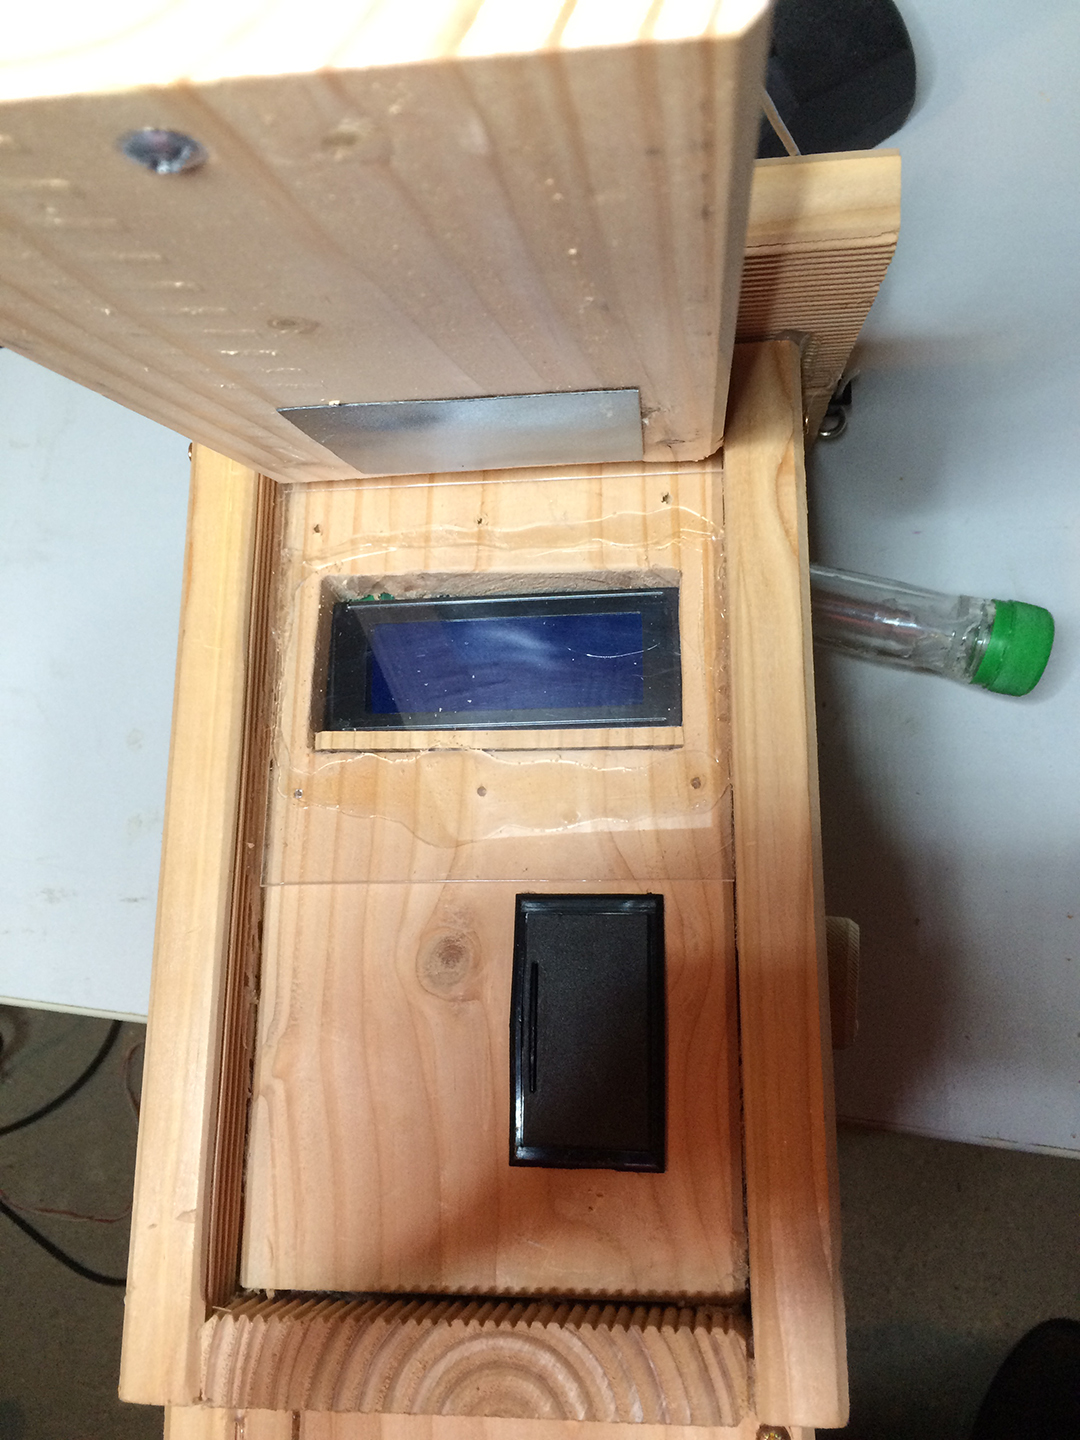
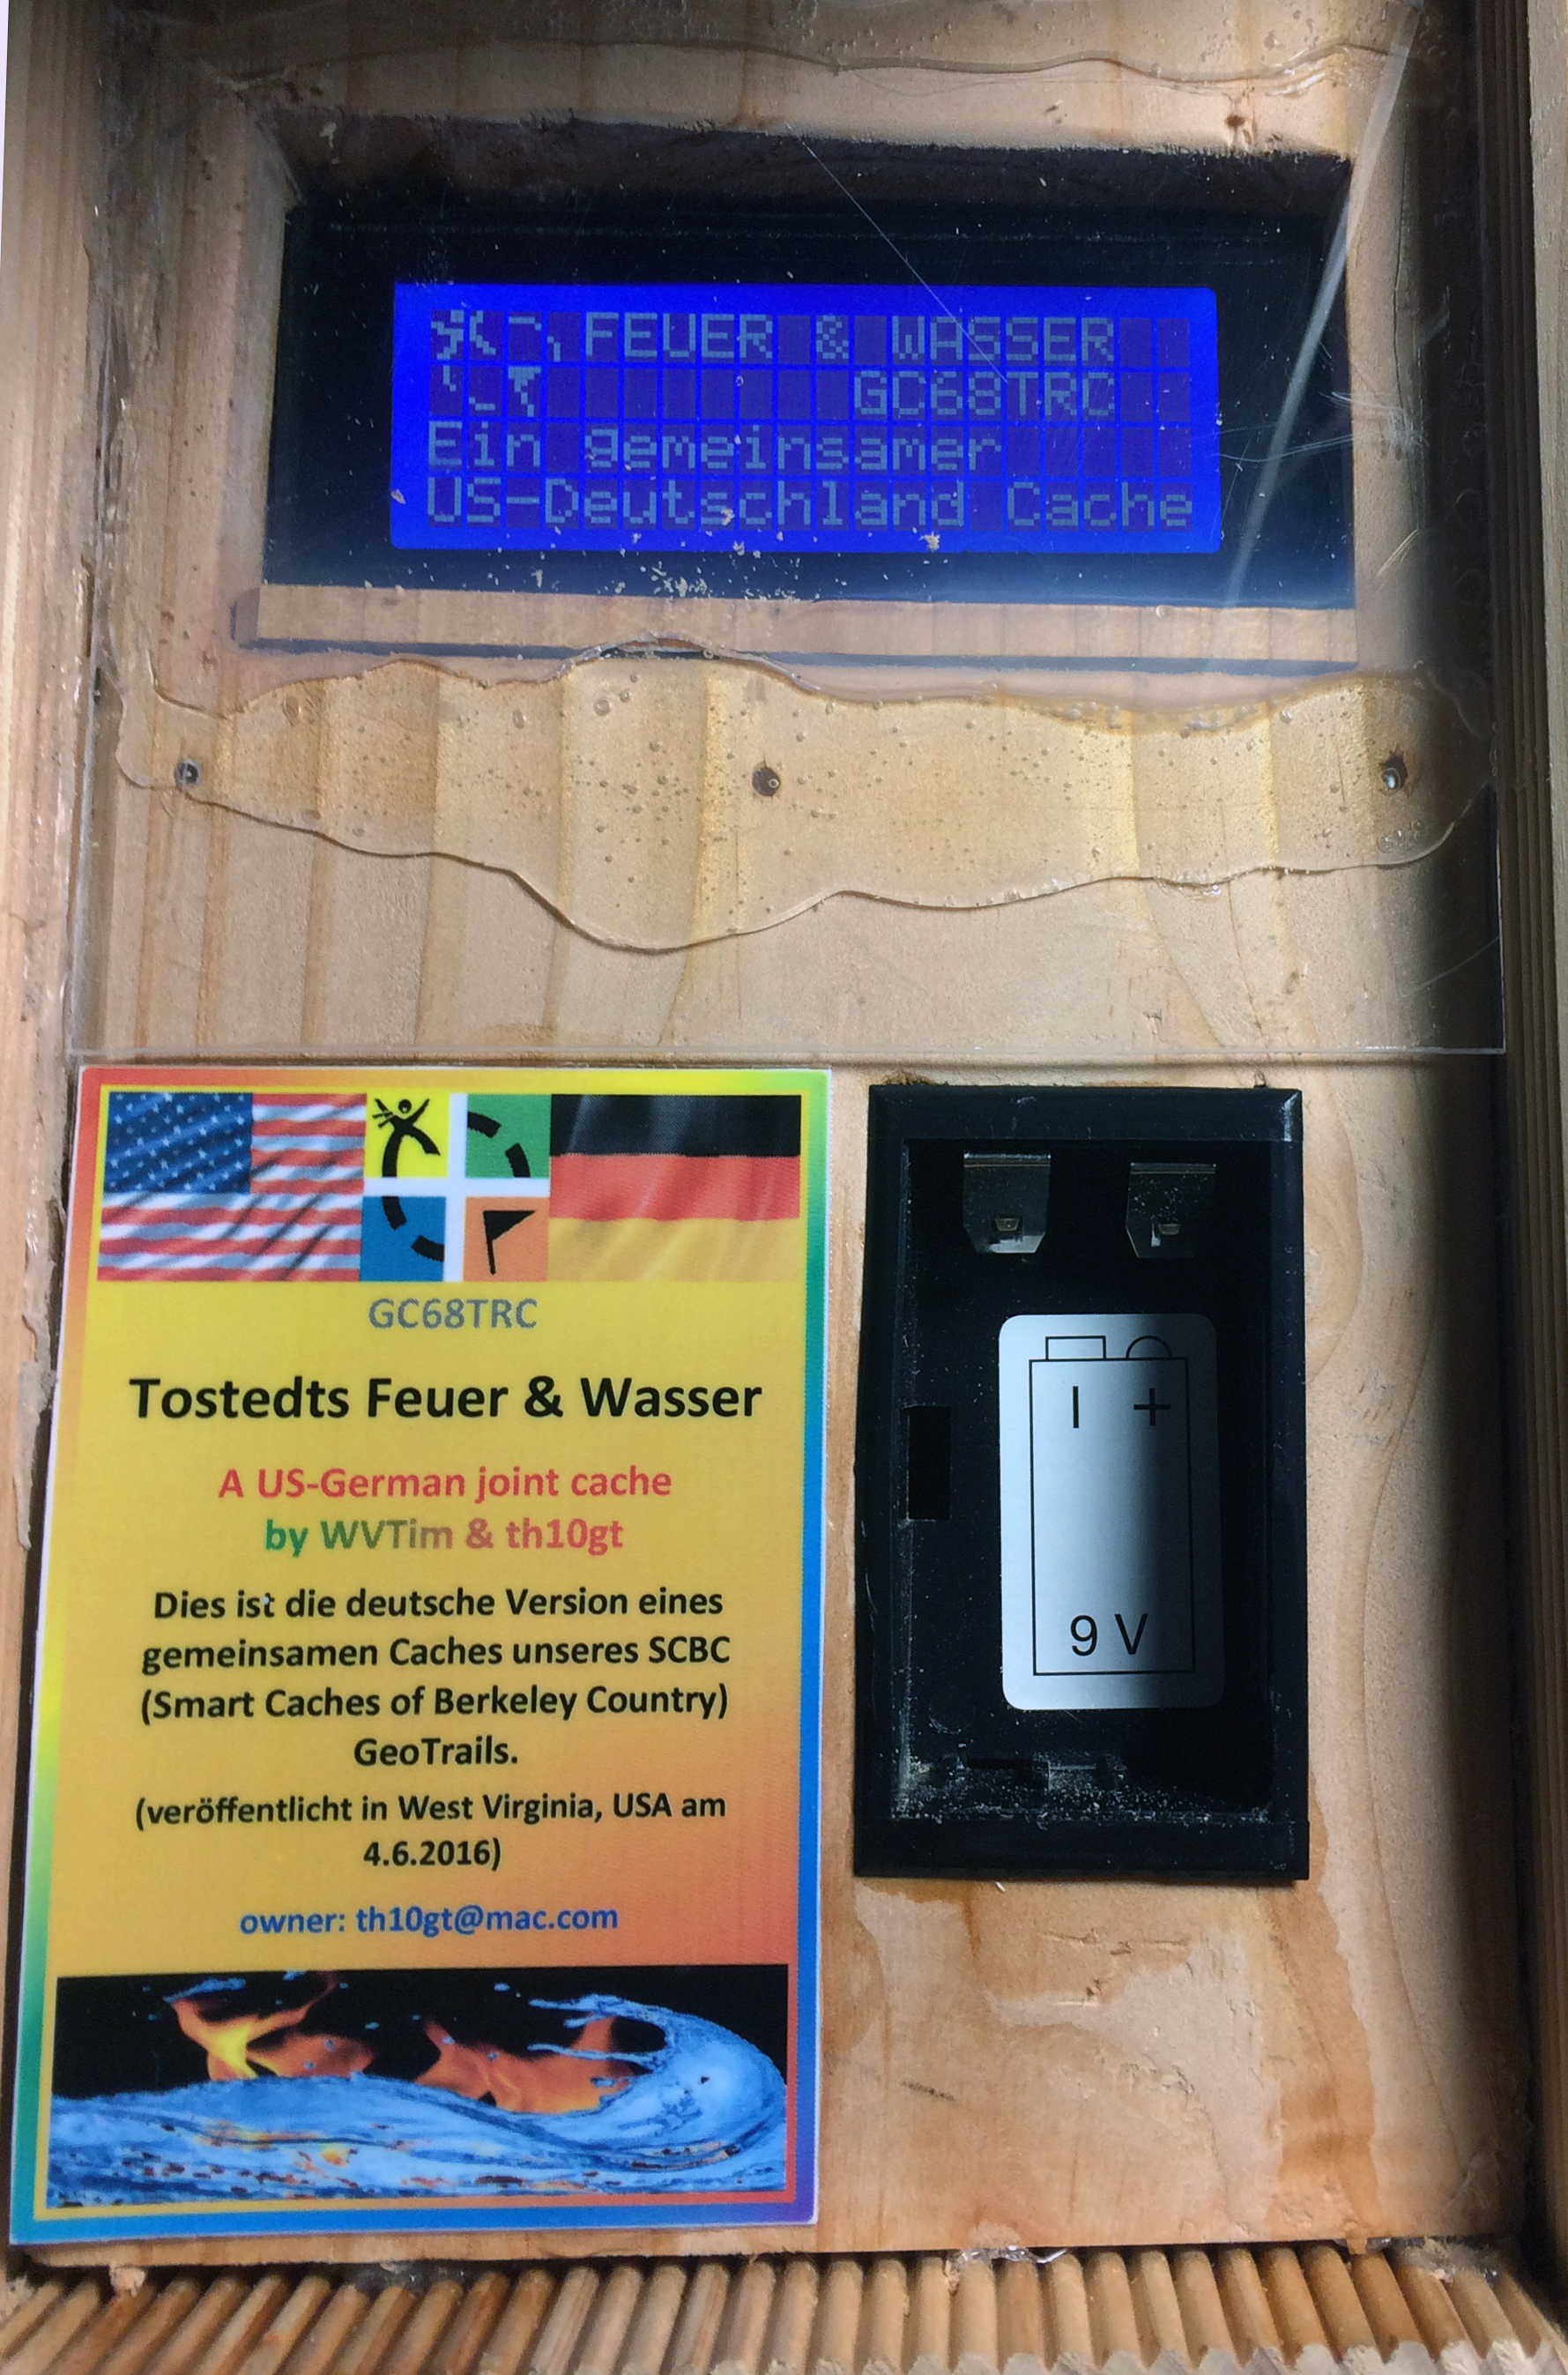
second front with 4 x 20 LCD on top and the 9V batterie holder bottom right.
The LCD is protected by a thin plexi foil.
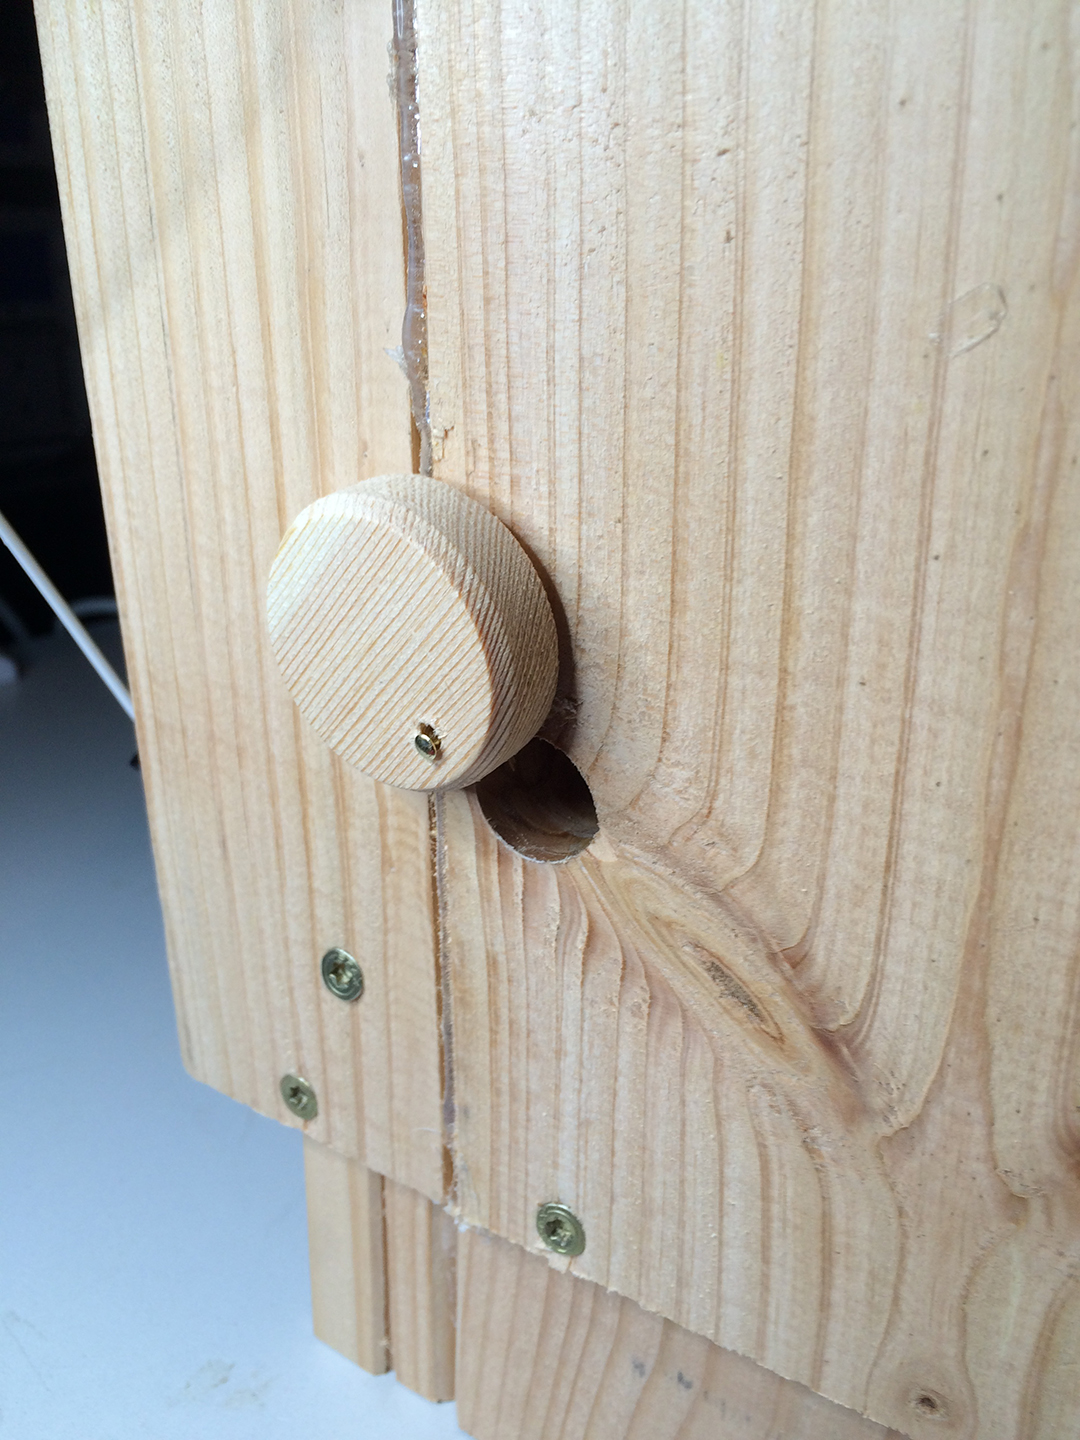
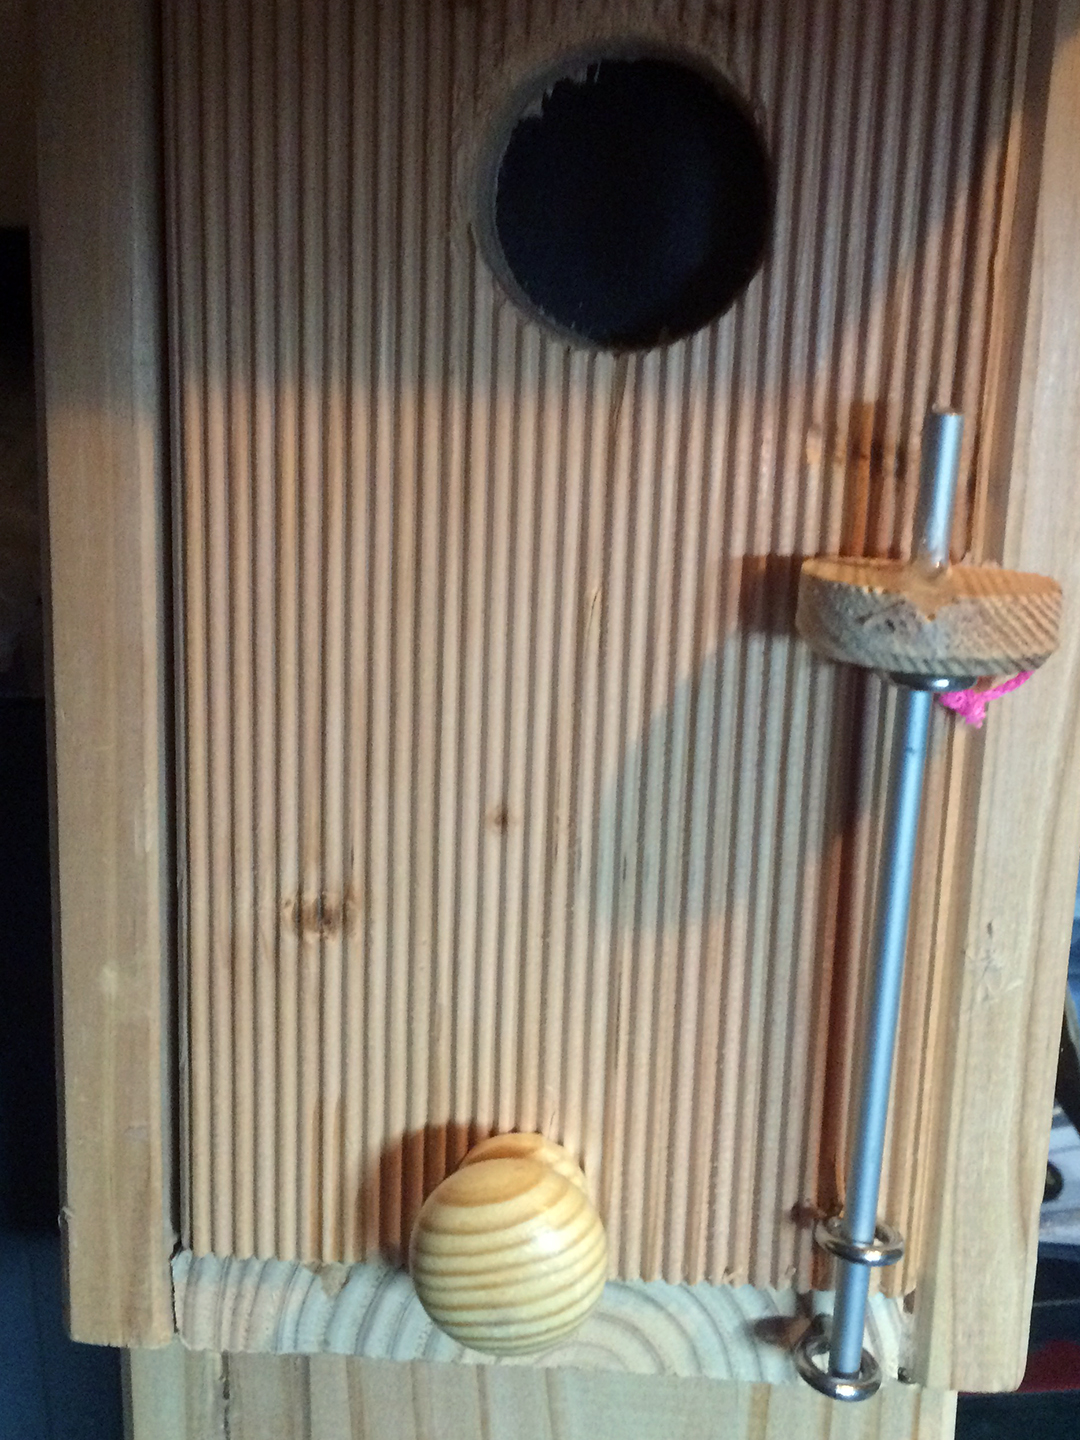
The hole for the flame, usually locked by the round piece of wood.
From inside protected with plexi foil.
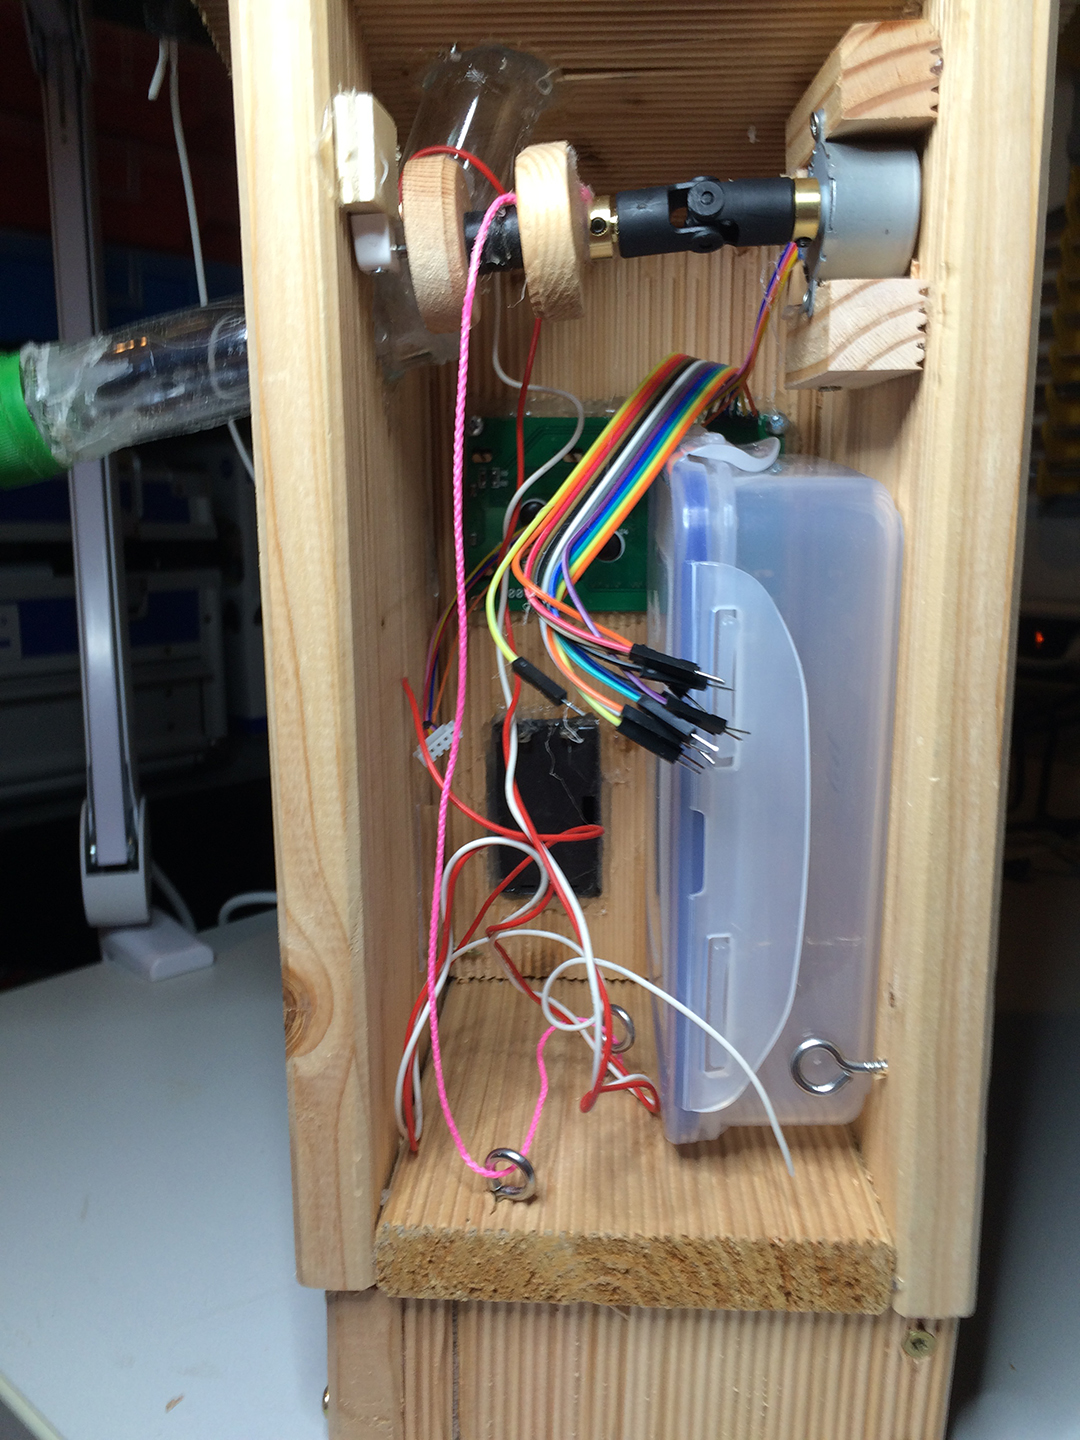
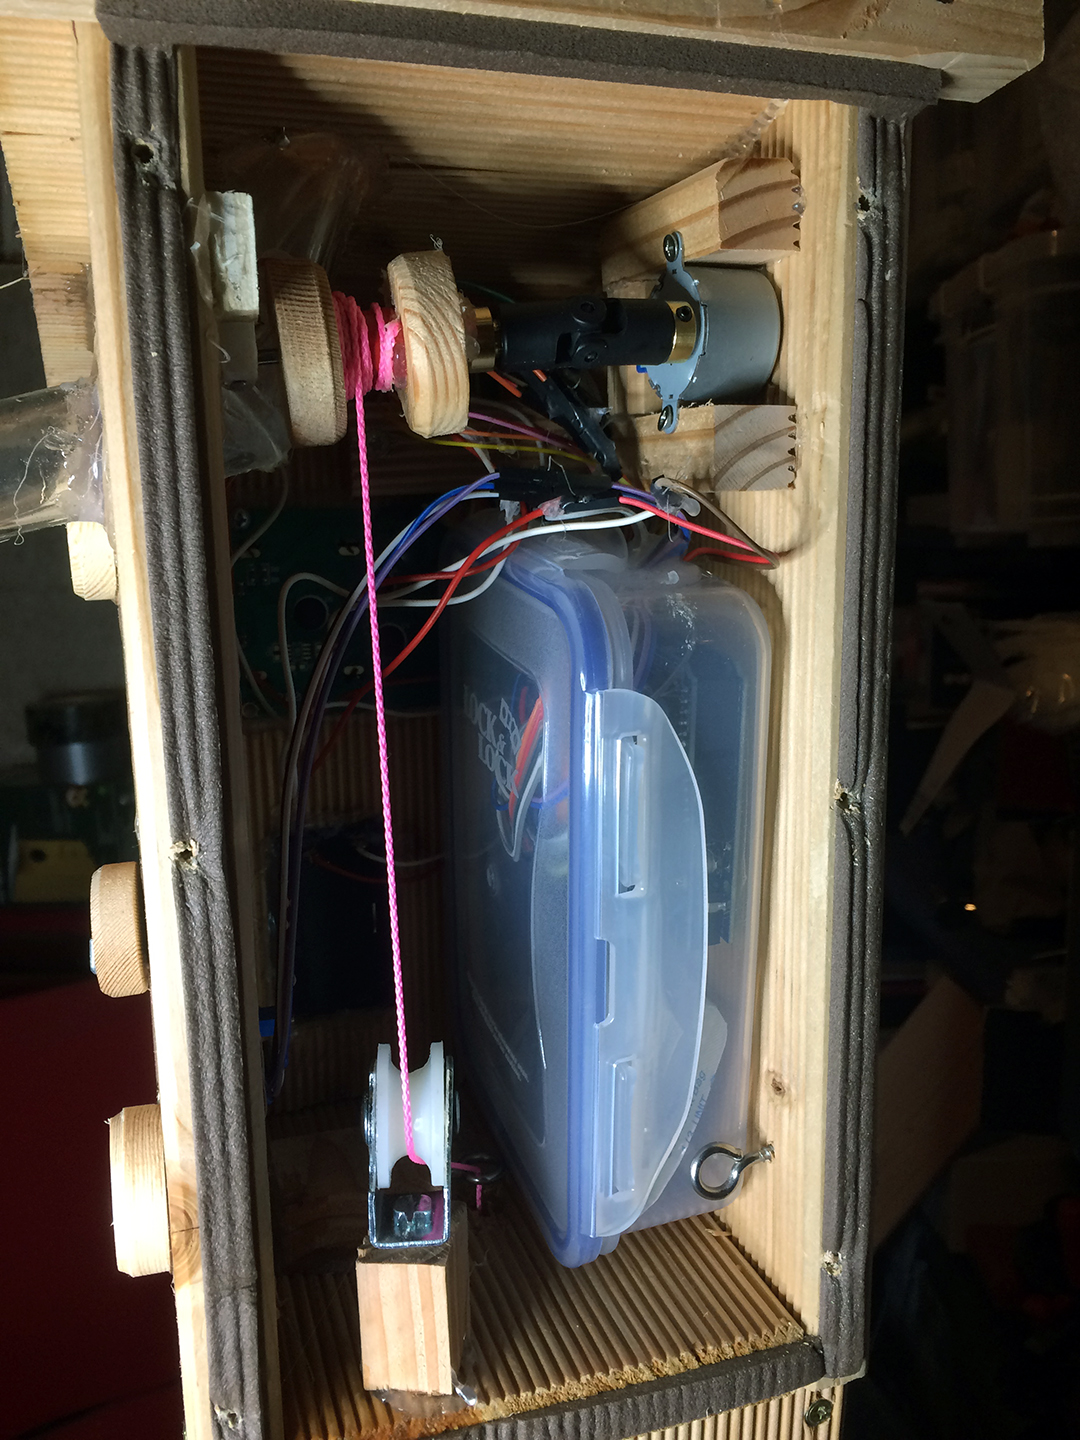
Back side open. On the top right the motor with the cardan coupling and the selfmade coil.
It’s not crooked as it seems on the picture - only a little bit. There must be a reason for the cardan coupling…
The Lock & Lock at the bottom right will be for the Arduino and the shield.
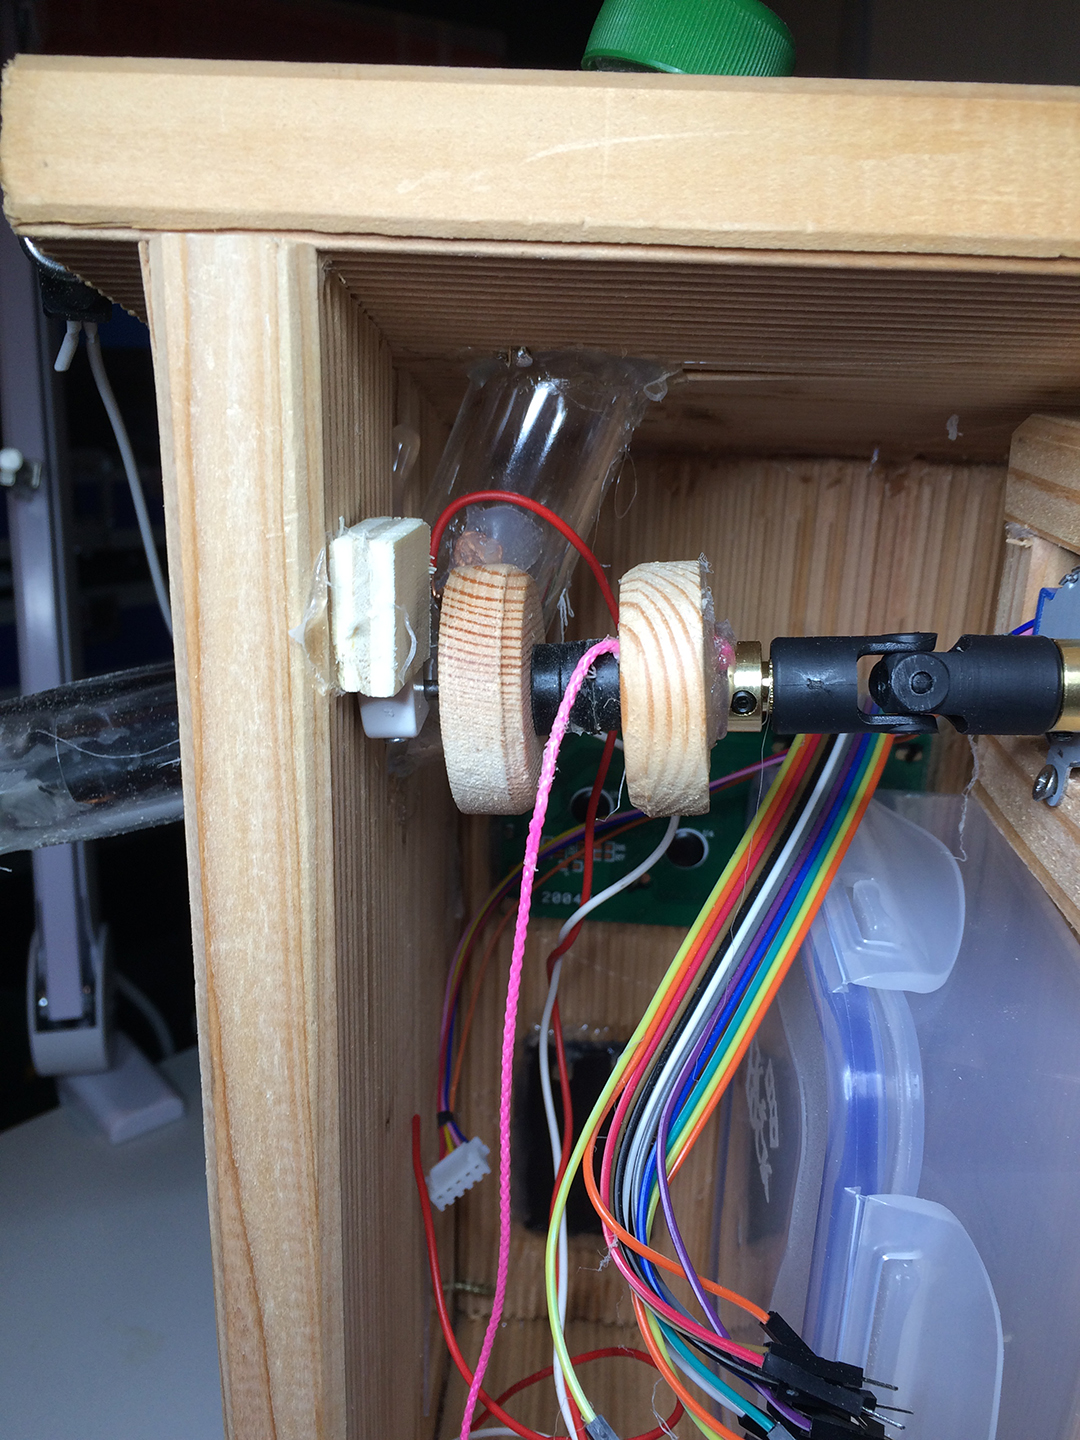
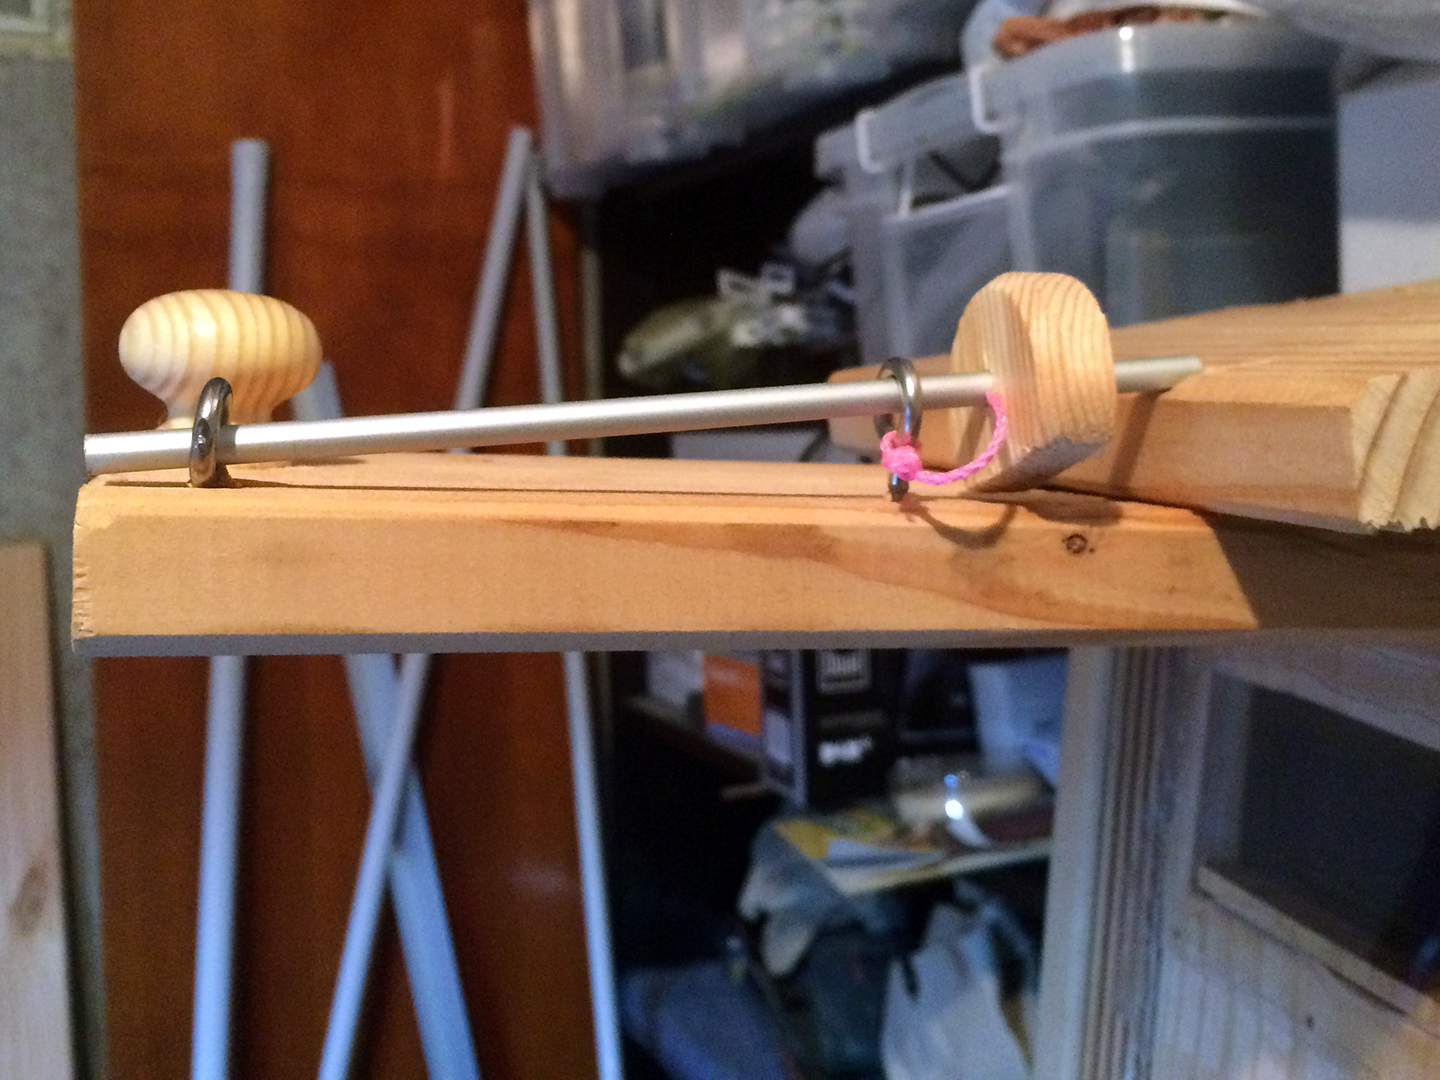
The selfmade coil with magenta thread

Inside the petling you can see 2 copper nails. I think they will be better than a non isolated cable.
I thought long about a holder of the other side of the axis. Than I found this cable clamp...
At 1 pm I left my cellar. After a short relaxing on the sofa in the living room the question was, what to do prior New Years Eve. As a tradition Tina and me will have an exquisite fish plate, I’ll prepare as dinner. Tina was sitting in her sauna, so I decided to test the selfmade shield. I was quite anxious about, because up to now the wiring was never correct at the beginning. But soldering means (more or less) not correctable.
I attached to the shield some hardware.
- A 2 x 16 LCD instead of the 4 x 20 I’ll use finally. But the wiring is the same. So don’t take about the display, it’s looking quite ugly.
- A second motor from „local stock“ (thanks to my son Nils for that Christmas gift) because the original one is already fixed inside the housing
- And a 100 Ohm resistor will simulate the water…
I was more than surprised when I discovered, everything was working fine! Here’s a video (as ever: to watch in 1080p, click onto the YouTube logo):
As ever: By clicking the YouTube button, you can watch it in 1080p…
Next step will be to wire the electronics finally inside the housing. For sure a task for the next year!
1.1.2016 - Putting the parts into the housing - step 1
At the beginning I was quite frustrated, because the LCD (a 4x20) only showed white rectangles. I reminded about contrast. So I discovered, that the 4x20 LCDs are not to be wired exactly like a 2x16. The difference is the V0 pin for the contrast. While with a 2x16 LCD a 10 Ohm resistor is giving the best results, with a 4x20 display it should be 1.5 kOhm! After adding the resistor to the cable, the display worked fine.
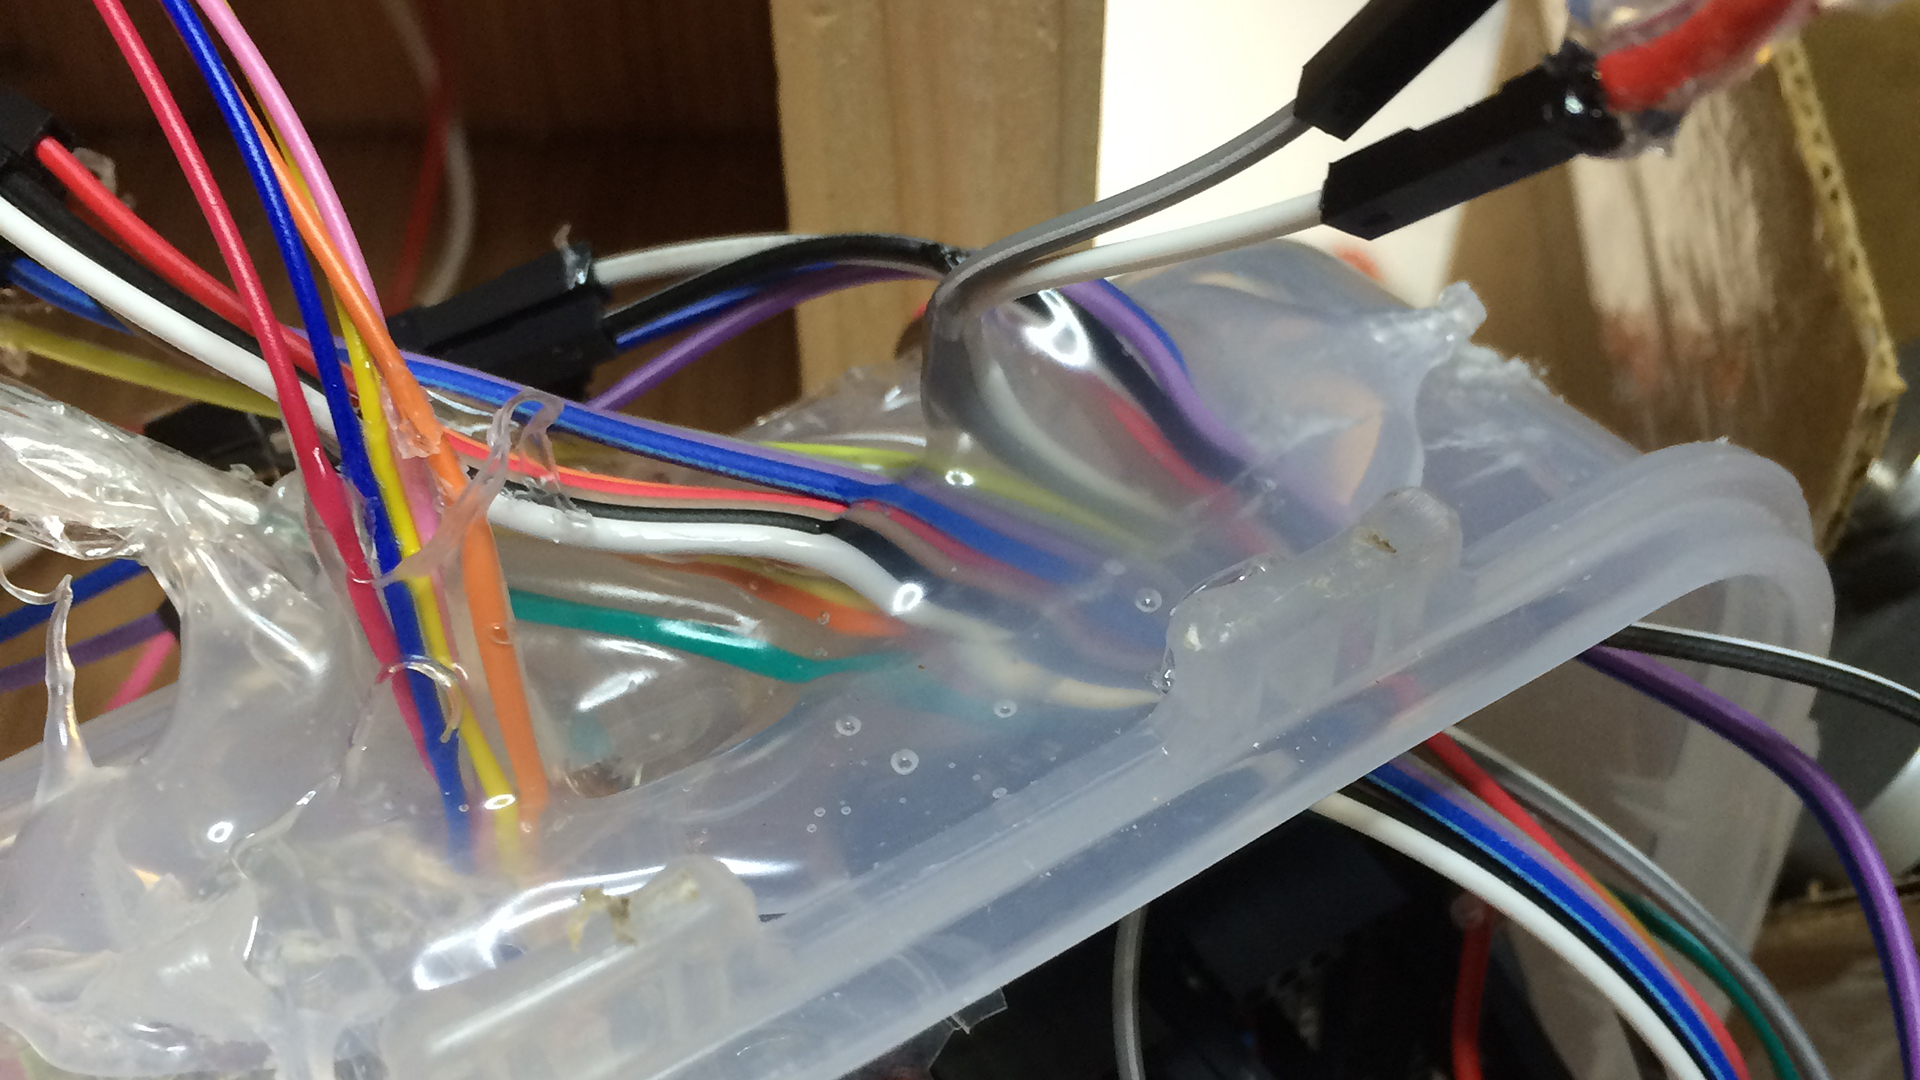
Also the Lock&Lock boxes are perfect. Arduino Uno, motor breakout and silica gel a matching perfectly into it:

Being sure, everything working well, I closed the slah of the Lock&Lock with hot glue:
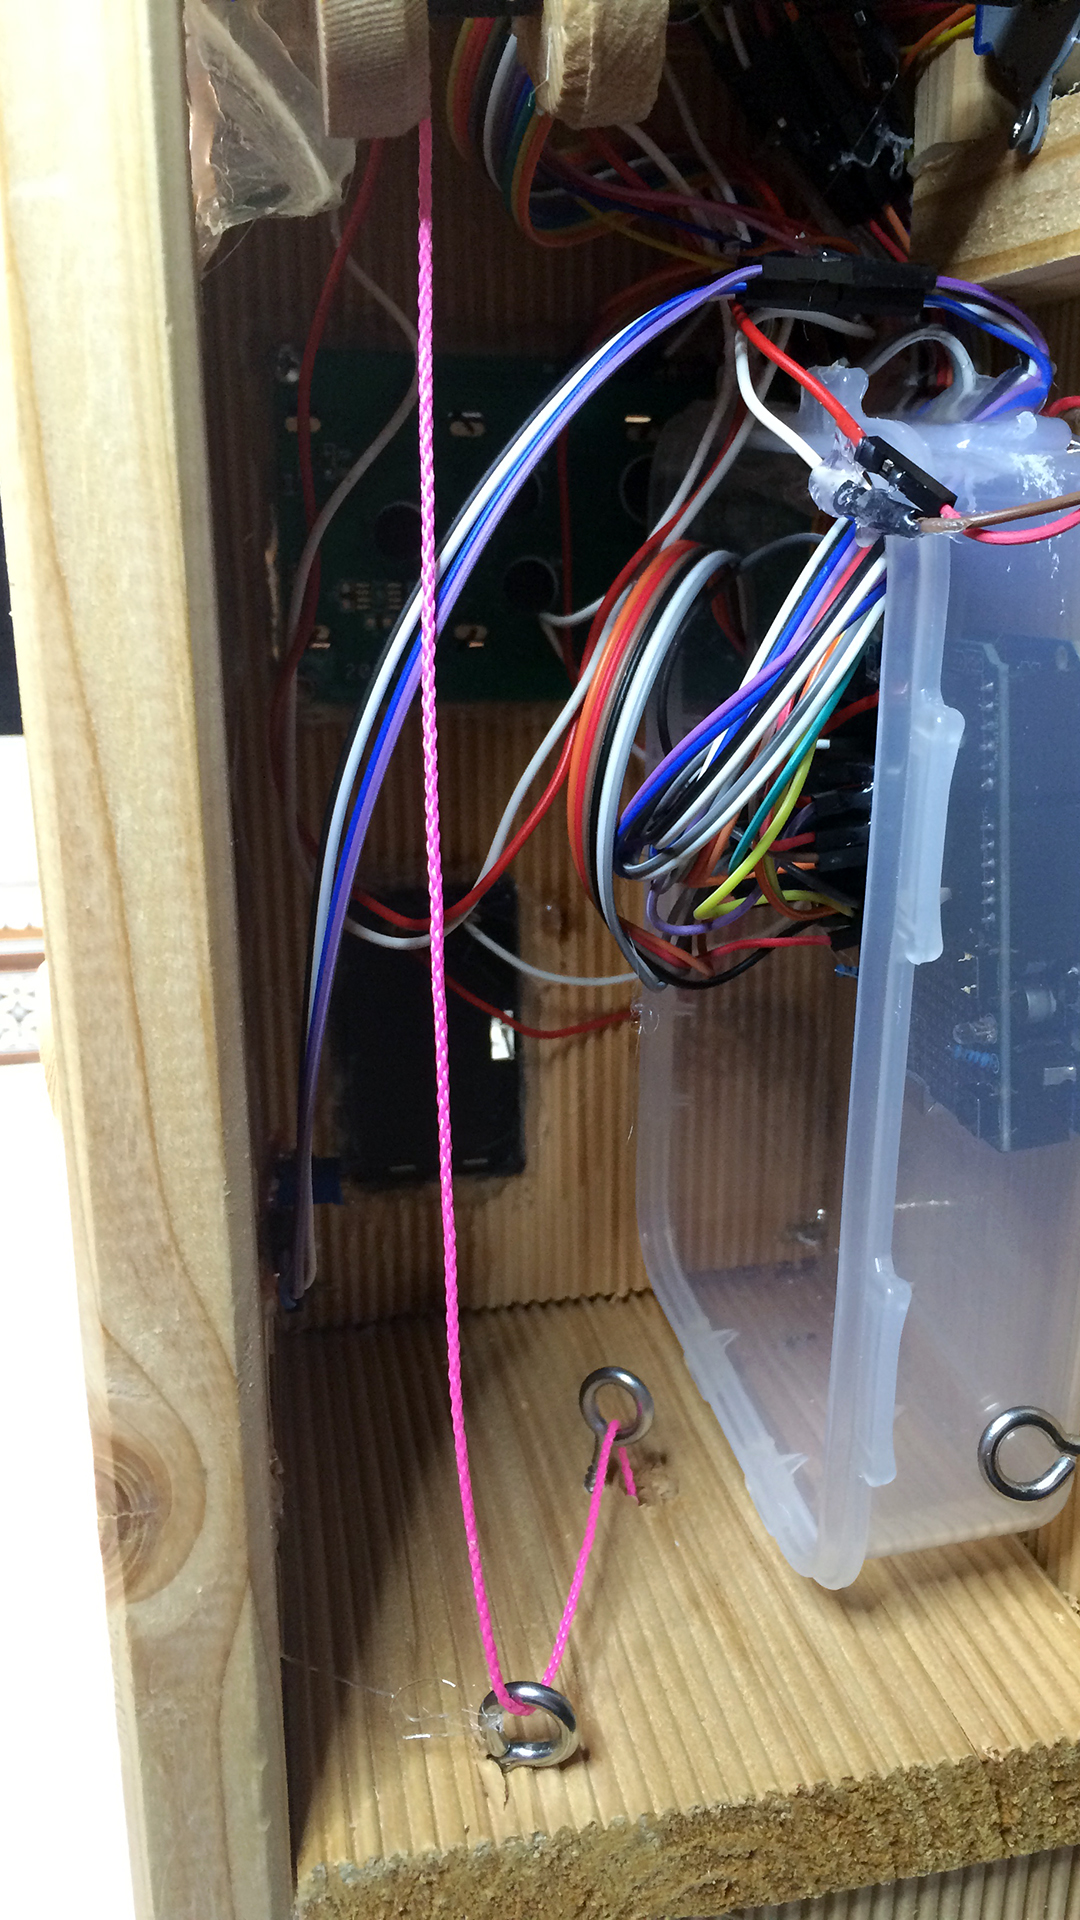
My only concern is with the thread and the loops. They're creating too much mechanical resistance to the tiny motor. Today I’ll try to buy some cable rolls. Here’s a it is at this moment:
2.1.2016 - Putting the parts into the housing - step 2 - DONE!!!
Today I finished the work. Only a plate at the second front must be reworked. Everything else is working. I built a new opening construction which will also keep the first front locked:
New locking and opening construction
Tomorrow I’ll invite Tina into my cellar for a demonstration….
But this evening I’ve already launched the listing for review.
3.1.2016 - With Tina in the cellar - not a real success...
- There seems to be a slack joint with the LCD. I solved it meanwhile.
- Than instead of the cache coming, the sketch started over. IDE already stated when compiling lack of memory, might run unstable. I removed 1 screen (4 lines) and now the sketch is stable.
- Last not least a problem came up with my selfmade coil. After lunch I’ll repair it. And I’ll invite Tina again...
Yesterday I launched the listing to the reviewer already and so I want to have the cache finaly placed today.
New spindle
Ready! I had some trouble. Sometimes instead of the motor starting, the sketch started over again. First I thought it was because of too less memory. But than I found, it only happened, when running on batteries. The reason: If the batterie isn’t fresh, the motor is decreasing the volatage and the Uno has too less input power. Now the cache is placed outside.
The reviewer gave his ok after less than 24 hours, but I asked to publish next weekend to give a chance also to working FTF hunters.
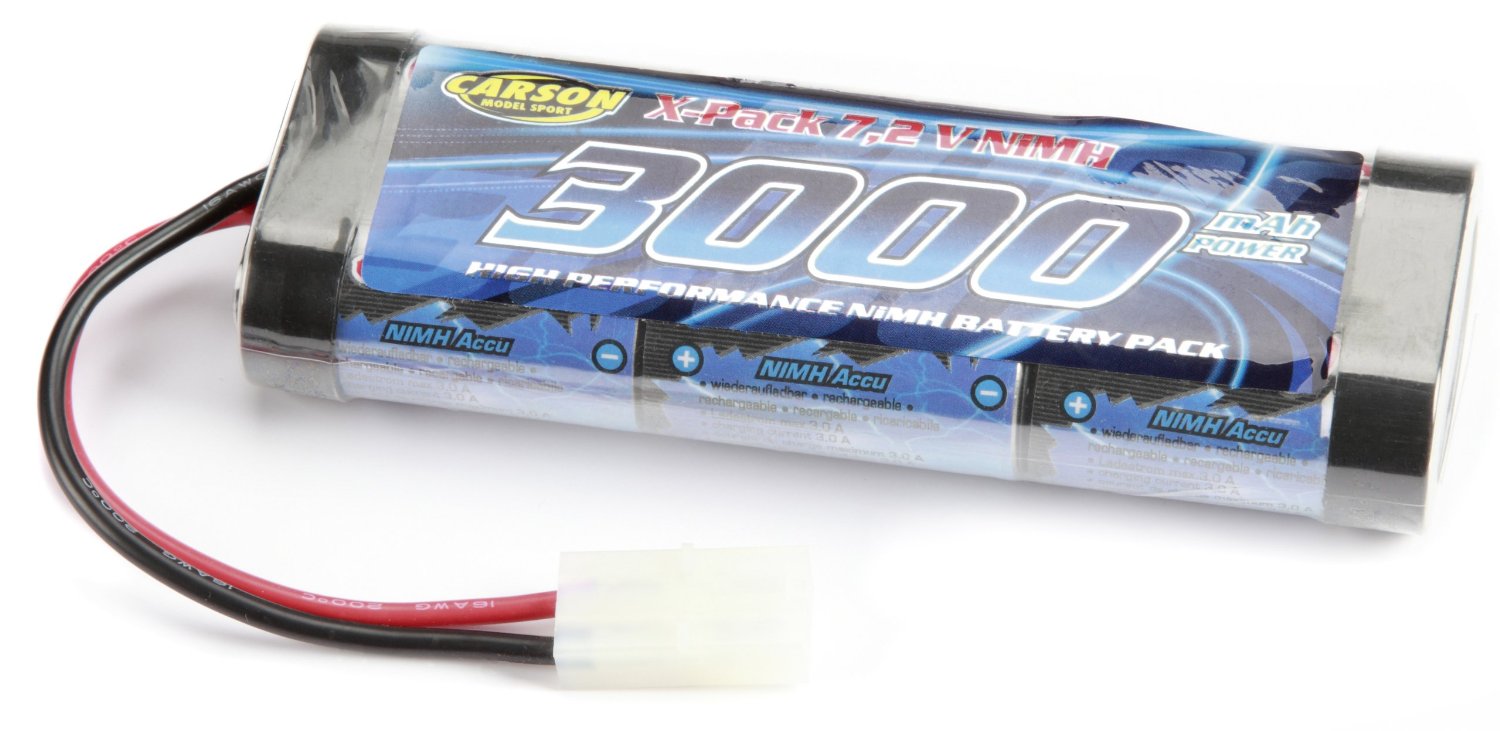
Meanwhile I added a separate 7.2V 3000mAh battery for the motor only…
You can pick the full sketch here…