I’ve built „on demand“ an alarm system which is checking to rooms located side-by-side but with a door for each room. More about by this video:
As ever: By cklicking on the YouTube button you can watch in 1080p
I’m working on some last updates of the software. When finished, the code (with German text only) will be availabe here.
Finally I made it bilingual (German / English) and added a setup menu. Now you can change some values without changing the code (sketch). In addition I’ve modified the Z_LCD() subroutine. Every time something is written to the LCD, it is cleared. Imagine that the sketch is in a loop and every time the same as e.g. „System active“ is written to the screen, it’s flickering. I managed that by only writing something to the LCD when at least one tiny digit was changed in at least one row.
This version is designed to control two rooms, but you can use it also only for one. Instead of contact 2 and switch 2 you’re just connecting the pins of the Arduino to ground. All described at the beginning of the sketch.
Update 11/5/2017
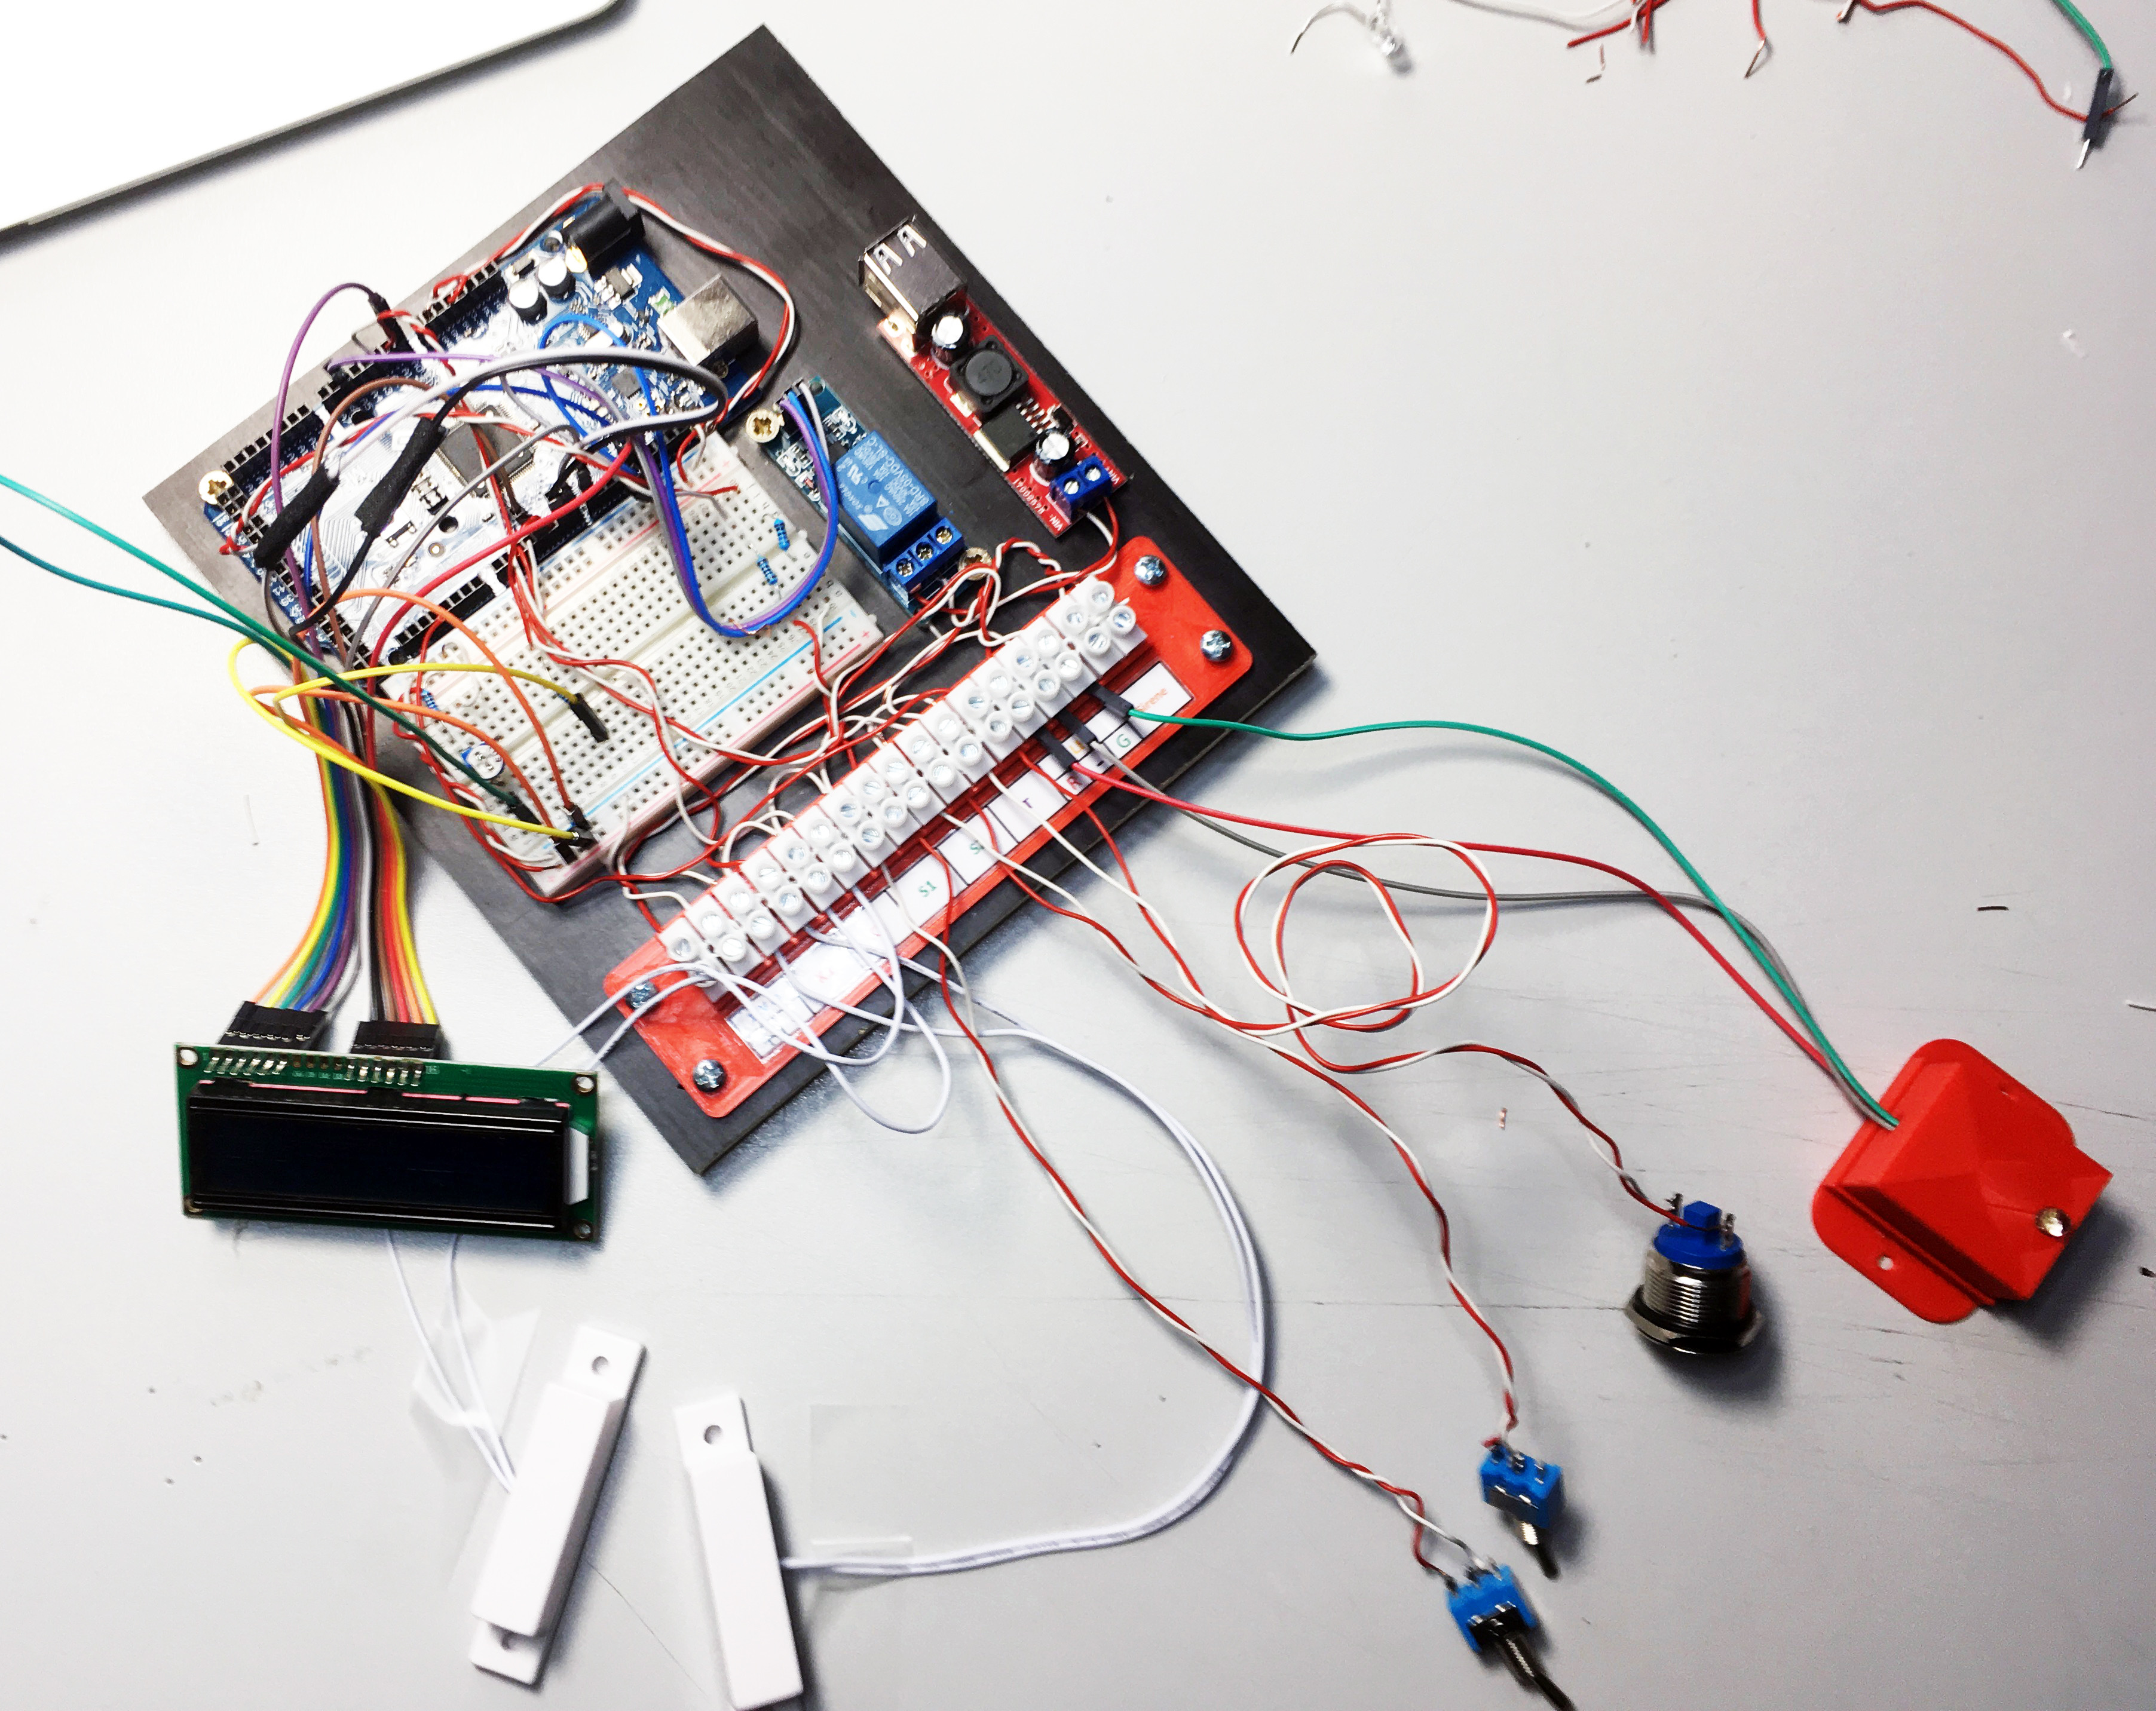
I think, the first version is ready for testing. I’ve mounted all the parts on a plate and also printed in 3D a connection panel:
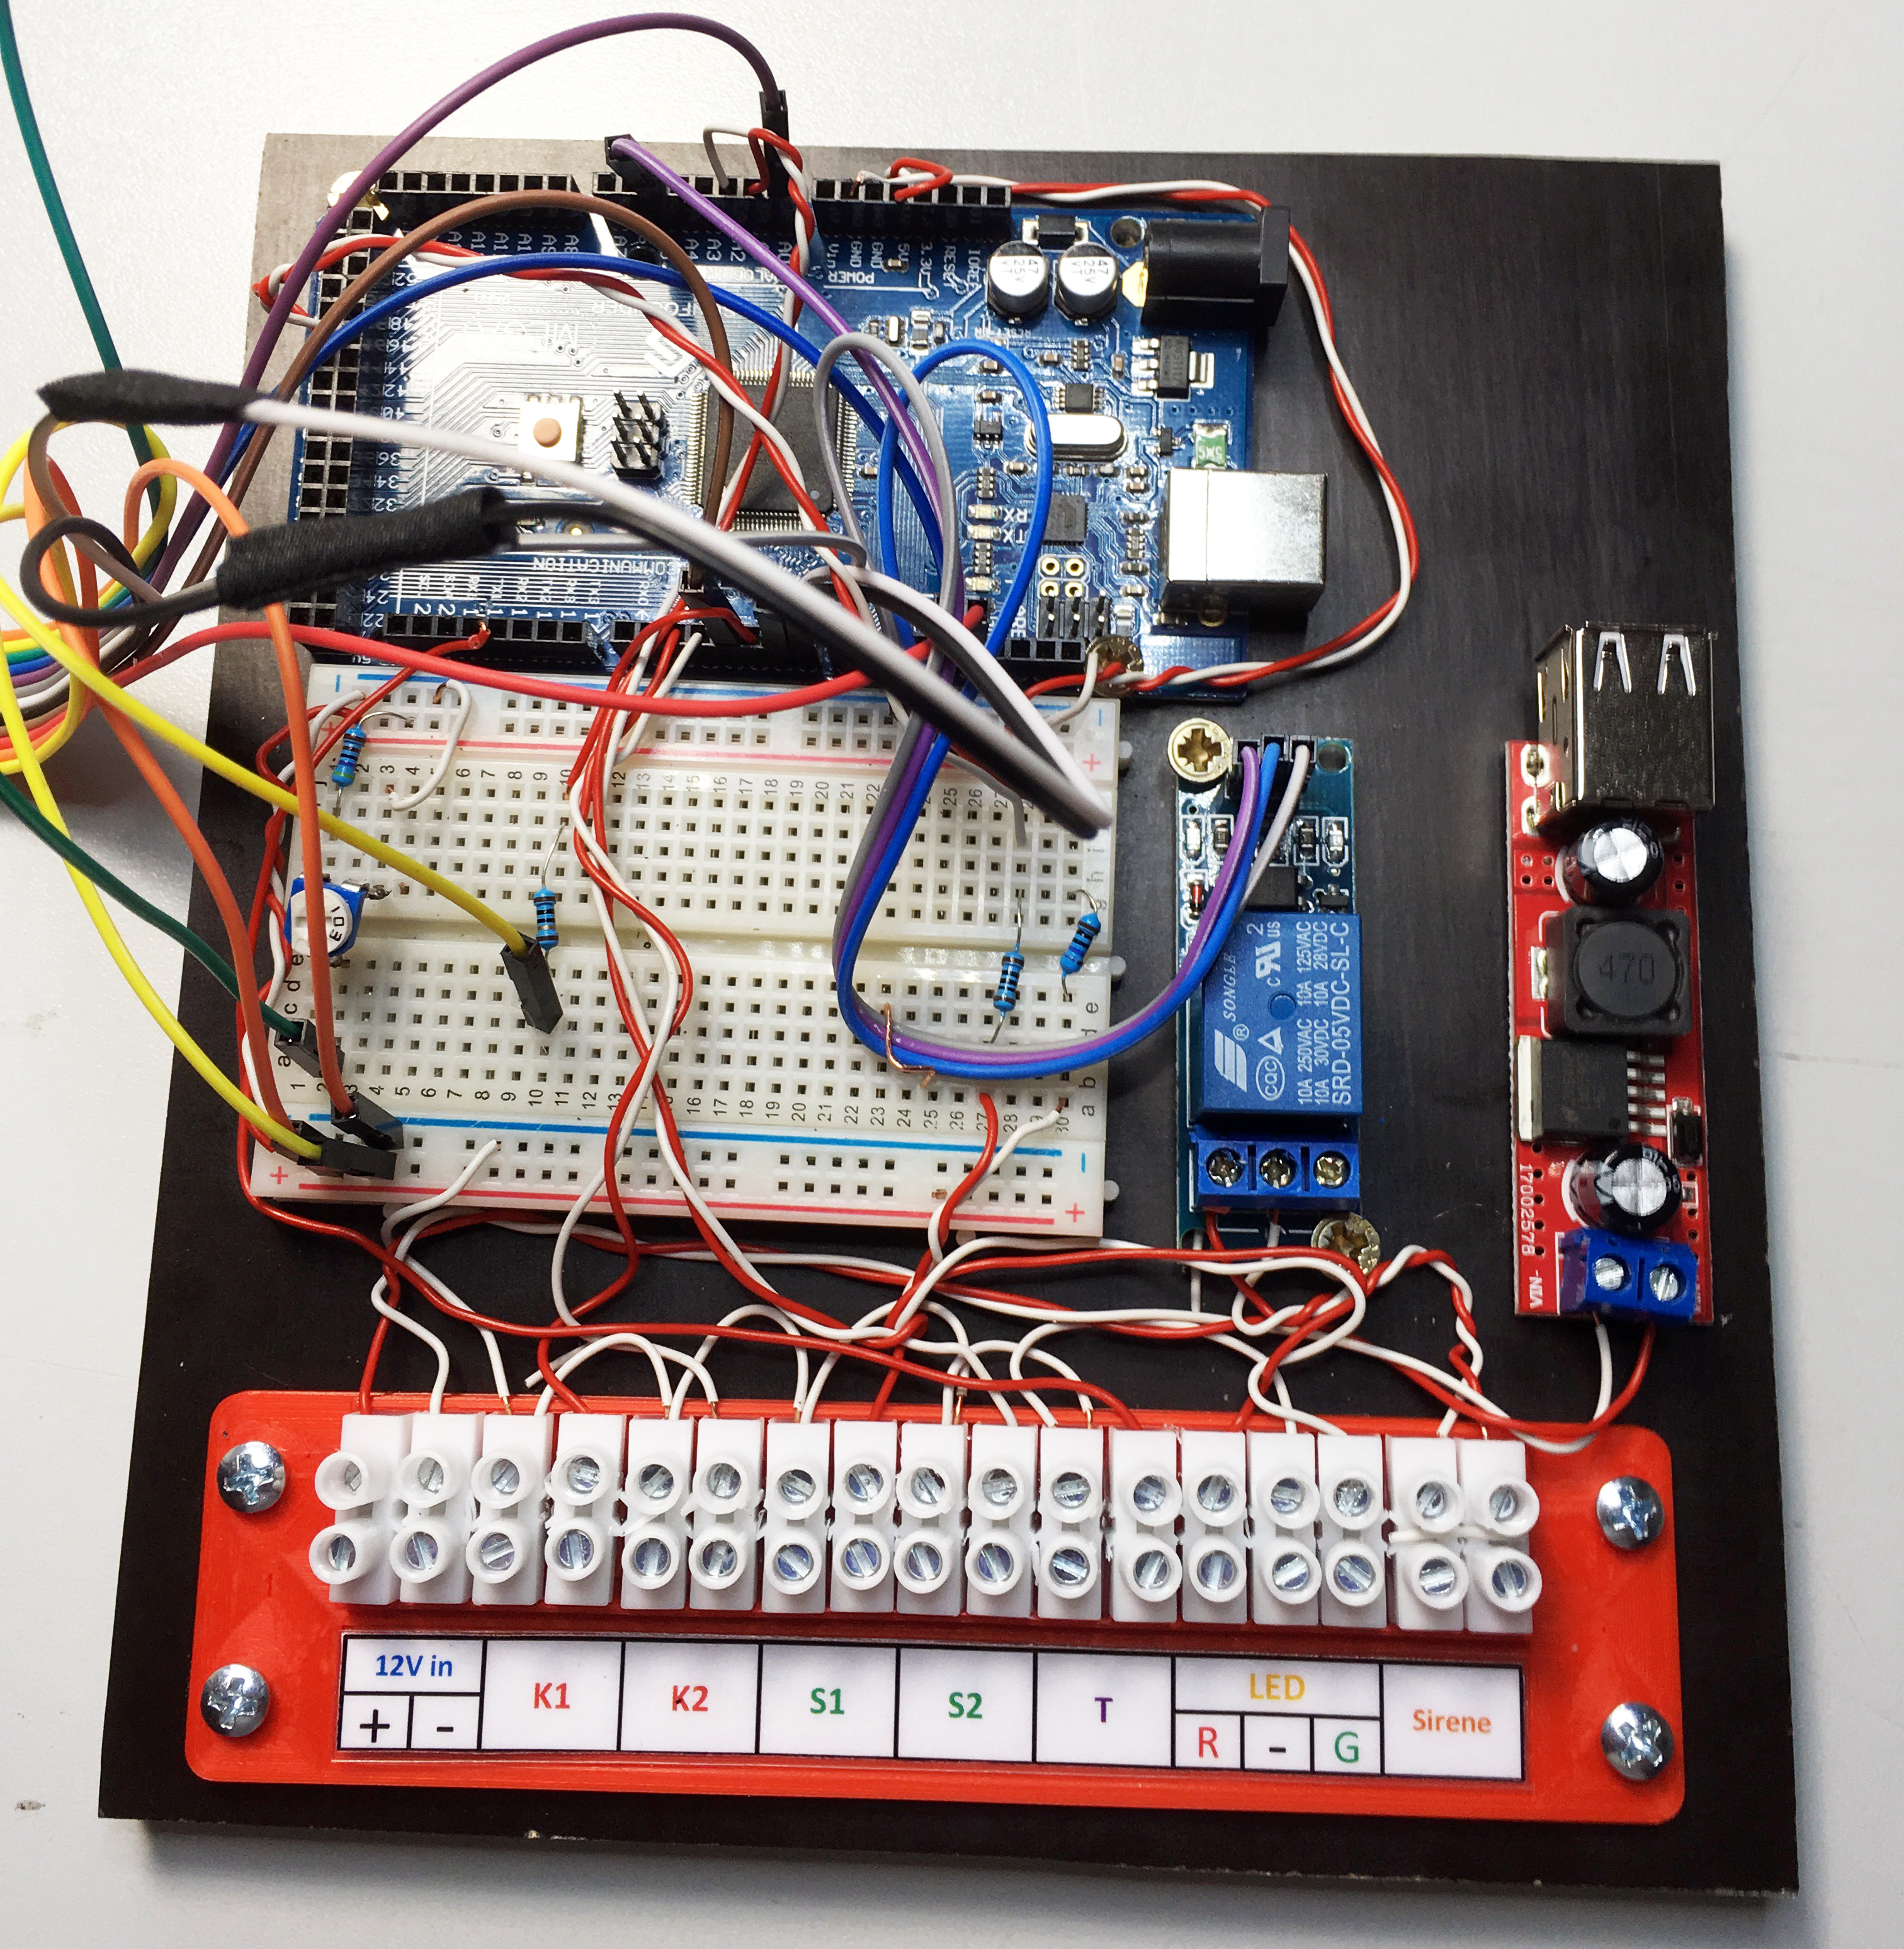
Top left: The Arduino Mega
Middle left: The bread board
Middle center: a relay
Middle right: Step-down power regulator to 5V (will be connected to the Mega by a short USB cable)
Bottom: My 3D printed connection panel
As you can see, I’ve added a push button (left from the red box containing the 2-colour status LED). With this button you can select your own values for
- the time to leave the room prior the systems goes in active mode
- the time you have to enter the room and to switch the system of prior alarm is given and
- the time the siren will be active.
All values can be set by that push button only, but only when the system is in „inactive mode“.
The values will be stored into EEProm, so they are still existing after power down of the Arduino and reboot.
The push button is sometimes acting as an interrupt, sometimes as a „normal“ pin. In total I’ve used three interrupts (2 for the contacts and 1 for the push button), which is the reason I’ve used a Mega and not an Uno (The Uno is only offering 2 interrupt pins.)
(The sketch for download is the latest one.)