When I’ve build my „Simon Says“ based cache (GC6A25K) in 2016, I already planned to built such a game for the kindergarten / nursery, my wife is heading and I’m the chairman of the board of. If the kid would successfully end the game, some Smarties should be released.
Since some weeks I’m now working on that. The whole dispenser will be printed in 3D. Here’re some pictures from the design:


Into the blue ring on the top a part of PET bottle will be put.
At the begin I had a completely different approach in mind. Not only in mind: I designed and printed it. It was based on the idea that a servo motor would open a kind of door for a defined time releasing the Smarties. The design shown above is releasing exactly 1 Smarte per half spin of the coil.
I had a nice discussion with an American guy who asked me, if I have thought about the possibility that 2 smarties would fall 90° rotated into the hole of the coil. In that case the coil wouldn’t be able to turn. Because Smarties are less than 50% high as ther diameter, that’s a real risk. So I decided to swith from Smarties to M&Ms.
I’ve bought a housing from Amazon, which isn’t such so expensive and I’ll put some angled aluminium ledges to the corners to make the housing more stable.
I started printing the 3 remaining parts today (Friday 1/12) at 5:00 am in the morning. This is as it’s looking 11 hours later:
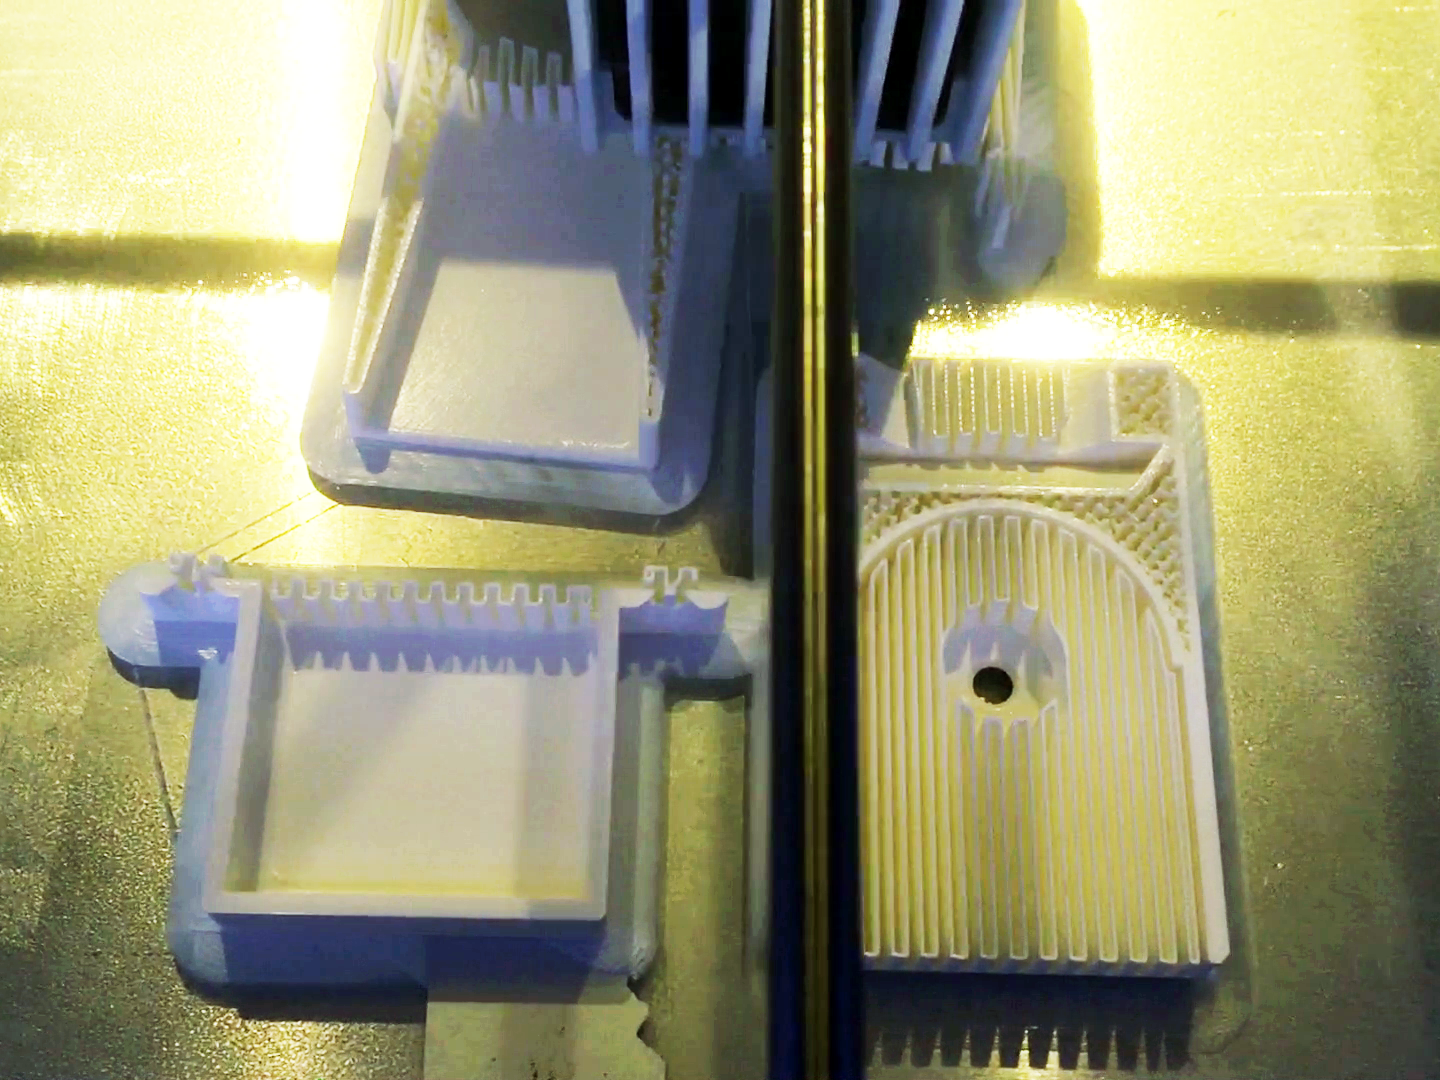
Printing will take 1 day and 13 hours in total. So it should finish by Saturday evening...
The untested version of the sketch is ready, the last 3 parts are printed. The print job will take 1 day and 13 hours and started Friday (1/12) in the morning.
The game will be set to level 10. This means for the first try the kid has to repeat 10 flashes of the buttons. If it fails, the level will be reduced by 1 but not to a level less than 5. If the kid wins, some M&Ms will be released. The higher the level, the more of M&Ms. The formula is
M&M released = Level - 4
If the kid will win on level 10, 6 M&Ms will be released. If the level will be 5, it will receive still 1.
If for any reason at start the hole in the coil won’t be placed correctly, there’s a hidden possibility to adjustment at power on.
Update 1/15/2018
As I wrote, I started printing of the last 3 missing parts on Friday afternoon. Printing should take 1 day and 13 hours. When I checked the printer on Sunday morning I discovered that there wasn’t so much filament on the spool. I kept the time for one turn of the spool and calculated the remaining turns up to the end of printing. It should be enough and it was.
But I discovered that I made a bloody mistake in design with one part. So I redesigned and printed it again. On the 4th picture of the picture show above you’ll see a green „connector“ between the dispenser (yellow) and the holder of the bottle (light blue). I had to redesign that as well to avoid some M&Ms blocking themselves and nothing dropping into the hole of the coil.
I’ve taken a short video of the assembly of the whole part. Unfortunately my iMac shuts off when using iMovie and is dead for roughly 20 minutes, I did it on my MacBookAir. But that was a nightmare! 90% of the time the MBA was frozen. (So I just ordered a new iMac Pro. I’ll talk about the full story of my current iMac later). And here’s the video:
This video is quite ugly, but my iMac is crashing when using iMovie. Apple replaced already nearly everything
(mainboard, power supply, CPU, monitor incl. logic, housing — only RAM and the stand are the old ones) but the problem is still not solved.
When I’m receiving my new iMac Pro (roughly on 1/31), I hope it will become better...
Update 1/19/2018
Meanwhile all parts are printed - most of them more than once and I’m working on the sketch. It was already working some days ago, but I added some improvements:
- Adjust Coil: Let’s assume, for any reason the coil isn’t adjusted, e.g. it’s a quarter of a turn too far on the „fill hole“ side. It would turn 190°, but no M&M would be released. So I added an adjustment part just at the beginning. Two buttons (by turning the LEDs on) will show that you can enter this adjustment by pressing those buttons. Now the coil will turn slowly in 10° steps. You have to keep pressing both buttons up to a M&M is released. In that moment you’ll release the buttons and the coil will turn back to it’s initial position. I’ve tested it already and it’s working great.
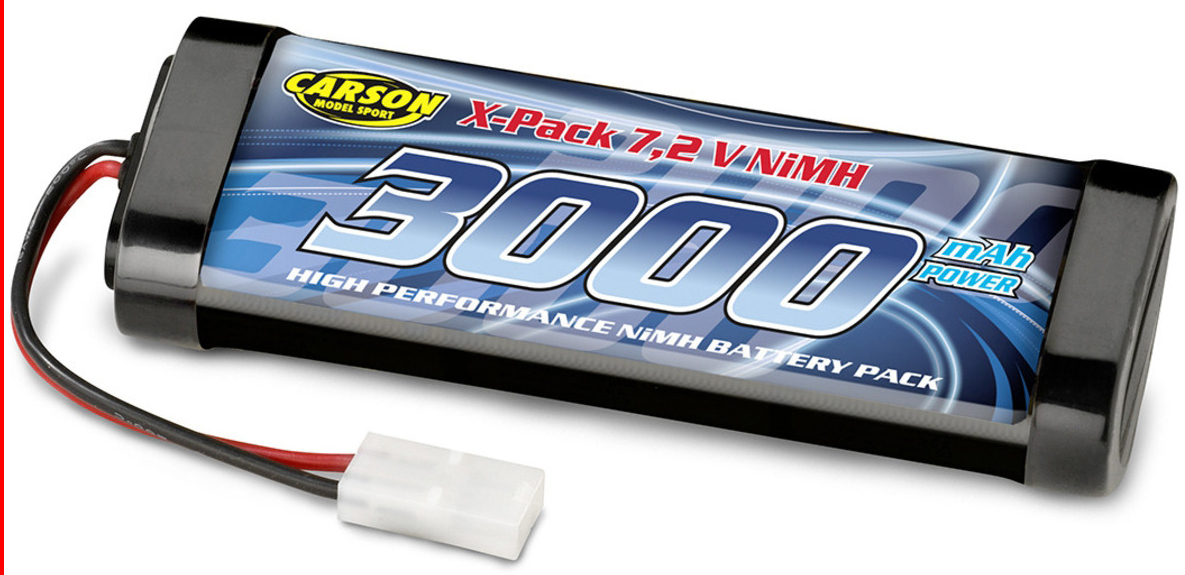
- Power: There won’t be any power socket nearby, so the game must be powered by a battery. First I planned that everytime someone want to play batteries must be attached to the game as with our smart caches. Being aware that there’re two 7.2V 3,000mAh battery packs are still in my local stock, I’ll include one of them into the housing. To play the game, a switch must be moved and there’s no need to attach a battery. From time to time the internal battery must be recharged. But when?
- Checking the voltage of the internal battery: Prior the adjustment step (—> see 1) there will be a power check. The LEDs inside the buttons will rotate like the wait symbol of a PC and than the Arduino will measure the voltage. If it will be above 6.0V, the green button will flash, meaning that the voltage is ok. If it’s less than 6.0V but more than 5.2V the yellow button will flash, meaning the battry should be recharged soon. If it’s less than 5.2V the red button will flash, meaning you have to recharge now. The same if nothing is happening because the battery is so weak, the Arduino won’t power on. Also this part is running fine already.
Update 2/4/2018
I think, it’s done… During the last steps it became too complicated. I designed it working with two motors. But prior printing all the parts and bringing them together, I realized (by thinking only!) it would never work.
I fear this version won’t work 100% precise, because there’s still a risk, some M&M canting themselves. But a little bit knocking onto the housing should help.
As ever: By clicking onto the YT button, you can watch in 1080p...
Stay tuned!
Blog will be continued…